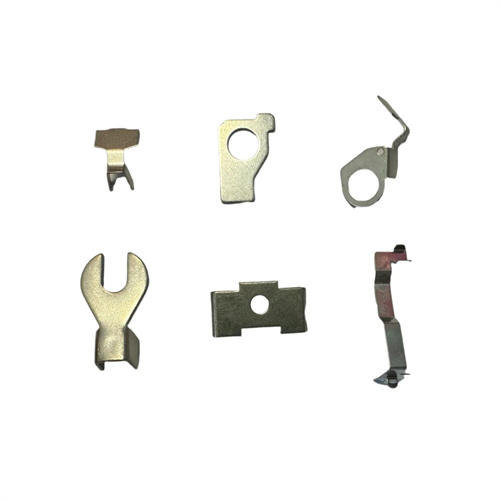
Effect of clearance on mold life
Die clearance, the space between the punch and die, is a key parameter in stamping die design and significantly impacts die life. A reasonable clearance minimizes friction during material separation and evenly distributes force across the die, thereby reducing wear and extending die life. However, excessive or insufficient clearance can lead to increased die wear, edge cracking, and shortened service life. Therefore, a thorough understanding of the mechanisms by which clearance influences die life is crucial for die design and production.
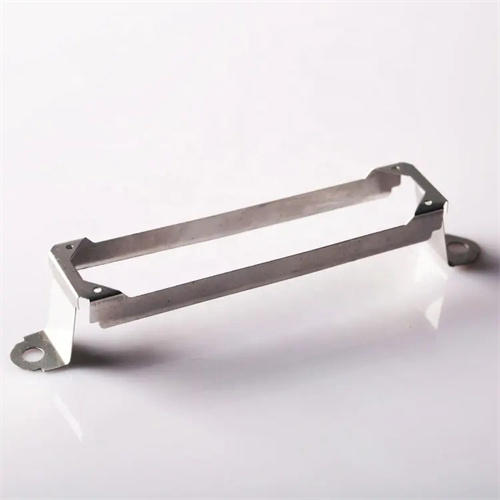
If the gap is too small, the life of the die will be significantly shortened due to severe friction and extrusion. When the gap is smaller than the reasonable value, the cutting edges of the punch and die will produce strong friction with the material during the material separation process. At the same time, the material will exert a large lateral pressure on the cutting edge during shear deformation. This friction and pressure will cause the cutting edge temperature to rise, exacerbating adhesive wear and oxidative wear of the die, and quickly causing the cutting edge to become blunt and peel. For example, when punching low-carbon steel, if the gap is reduced from the reasonable value of 0.1mm to 0.05mm, the cutting edge wear rate of the die will increase by 2-3 times, and the service life will drop from 1 million cycles to 300,000-400,000 cycles. In addition, a gap that is too small will lead to an increase in the unloading force, which will increase the friction between the stripper plate and the punch, further shortening the life of the die.
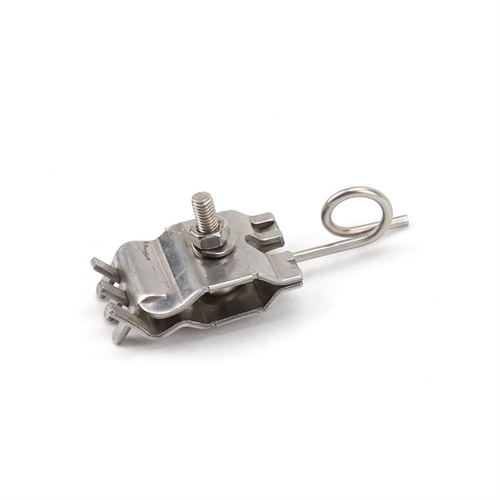
While excessive clearance reduces friction, it shortens the die’s life due to uneven force distribution and increased impact loads. Excessive clearance causes significant tensile deformation of the material during the blanking process, resulting in a rough fracture surface after separation. It also easily bends and twists the material, placing additional bending moments on the punch. This bending moment causes uneven wear on the punch’s cutting edge, and can even cause bending, deformation, or cracking. When blanking thick material ( t > 3mm), excessive clearance can cause the material to tear in the shear zone. The vibration and impact of this tearing process exacerbate die fatigue wear, causing microcracks along the die’s cutting edge and ultimately leading to edge fracture. For example, when blanking thick steel plate, excessive clearance (exceeding 20% of the material thickness) can reduce the die’s fatigue life by 40%-50% and can easily lead to sudden edge fracture.
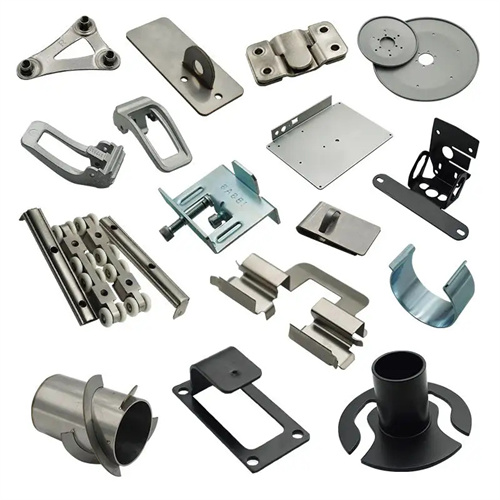
A reasonable clearance ensures uniform force distribution on the mold, minimizing wear and extending its life. With this clearance, cracks generated during material separation can propagate and converge smoothly, evenly distributing shear forces. The lateral forces acting on the punch and die are reduced, resulting in minimal friction. At this point, mold wear is primarily normal abrasive wear, which is slow and uniform, ensuring the cutting edge remains sharp longer. For example, the ideal clearance for mild steel is 8%-12% of the material thickness. Within this range, mold wear is slow, the mold’s service life can exceed one million cycles, and the cutting edge can be repaired over a long period of time. Furthermore, a reasonable clearance reduces thermal deformation of the mold because friction generates less heat, resulting in a more even temperature distribution, thus preventing cracks caused by thermal stress.
The optimal clearance varies for different materials, and its impact on die life also varies. For plastic materials (such as mild steel and aluminum alloys), the optimal clearance is relatively small (5%-10% of the material thickness). If the clearance is inappropriate, the wear rate will be faster than for brittle materials. This is because plastic materials deform significantly during punching, resulting in a larger contact area with the die and more intense friction. For brittle materials (such as cast iron and brass), the optimal clearance is relatively large (10%-15% of the material thickness). Too small a clearance will subject the cutting edge to greater impact loads and may lead to cracking. For example, when punching aluminum alloy (a plastic material), a 10% clearance deviation will reduce die life by 30%. However, when punching cast iron (a brittle material), the same clearance deviation will only reduce life by 15%-20%.
The impact of die clearance on tool life is also related to the stamping process and die material. High-speed stamping (>500 strokes/min) is more sensitive to clearance because friction generates more heat at high speeds. Improper clearance can lead to rapid die overheating and wear. In this case, clearance must be controlled within a tighter range (deviation ≤ 5%). The wear resistance of the die material also affects the effectiveness of clearance. Dies made of high-speed steel (such as W6Mo5Cr4V2) or cemented carbide are more adaptable to clearance, and even slight deviations in clearance experience less reduction in tool life than carbon tool steel. For example, a 15% deviation in clearance for a cemented carbide die only reduces its life by 10%-15%, while a carbon tool steel die experiences a reduction of over 40%. Therefore, when designing a die, it is important to determine an appropriate clearance range based on material properties, stamping speed, and die material to maximize die life.
