Drawing convex and concave die corner radius
The corner radius of the punch and die is a key parameter for controlling material flow and forming quality, directly affecting the drawing force, part wall thickness variation, and die wear. The punch corner radius (r convex ) refers to the transition radius between the punch base and sidewalls, while the die corner radius (r concave ) refers to the transition radius at the die opening. Proper matching of these two parameters ensures smooth material entry into the die, reduces resistance to plastic deformation, and avoids defects such as cracking and wrinkling. The corner radius must be determined based on a comprehensive consideration of material thickness, number of draws, and part shape, and is a core element that requires repeated optimization in drawing die design.
The die corner radius (rconcave) has the most significant impact on material flow resistance. A too small radius can cause severe bending deformation, resulting in severe thinning and scratching. When rconcave is less than 5t, the bending stress on the material entering the die increases, leading to thinning rates exceeding 20% at the transition between the wall and the bottom. Wear at the die corners is also accelerated, shortening the die’s service life. For example, for a 1mm thick mild steel plate with rconcave = 3mm (3t), the thinning rate after deep drawing is 18%, while at rconcave = 8mm (8t), the thinning rate drops to 8%. Excessive rconcave reduces the effective blankholder area, leading to wrinkling at the flange edge. This is especially true for thin material (t < 0.5mm). The probability of wrinkling increases significantly when rconcave exceeds 15t. Therefore, rconcave is typically set between 5-15t for the initial drawing, gradually decreasing with subsequent drawing cycles, typically to 60%-80% of the previous value.
The punch corner radius (r convex ) primarily affects the forming quality of the part’s base and the stress state of the barrel wall. A too small radius can lead to stress concentration at the transition between the base and the barrel wall, making cracks more likely. When r convex is less than 3t, the material experiences severe bending deformation at the punch corner, increasing radial tensile stress. When this stress exceeds the material’s tensile strength, cracks can occur. For example, the crack incidence rate at the base of a stainless steel drawn part (σb = 600 MPa) reaches 30% when r convex = 2mm (t = 1mm), while the crack rate drops to less than 5% when r convex = 5mm. Excessive r convexity reduces the contact area between the punch and the material, impairing drawing stability and resulting in reduced dimensional accuracy at the part’s mouth (with deviations of up to 0.5-1mm). The punch corner radius is generally 0.7-0.8 times the die corner radius. For the first draw, r convex = 5-10t, and for the final draw, it should approach the part’s base corner radius (with deviations ≤ 0.1mm).
The matching of the punch and die corner radii is crucial to the stability of the drawing process. The ratio (rconvex/rconcave) should be controlled within the range of 0.6-0.9. When the ratio is less than 0.6, the punch corner radius is too small and the die corner radius is too large, causing the material to overstretch at the punch corner and wrinkling of the flange due to insufficient blanking. When the ratio is greater than 0.9, the punch and die corner radii are close, increasing material flow resistance, drawing force by 10%-20%, and prone to friction scratches on the part surface. For example, when drawing low-carbon steel, rconcave = 10mm, rconvex = 8mm (ratio 0.8), and drawing force is 100kN. If rconvex = 9mm (ratio 0.9), the drawing force increases to 115kN, and the surface roughness deteriorates from Ra1.6μm to Ra3.2μm. For multiple deep drawing, the fillet radius of each drawing needs to be gradually reduced and a reasonable ratio should be maintained. For example, in the second deep drawing, rconcave = 6mm, rconvex = 5mm (ratio 0.83) to ensure uniform deformation of the material.
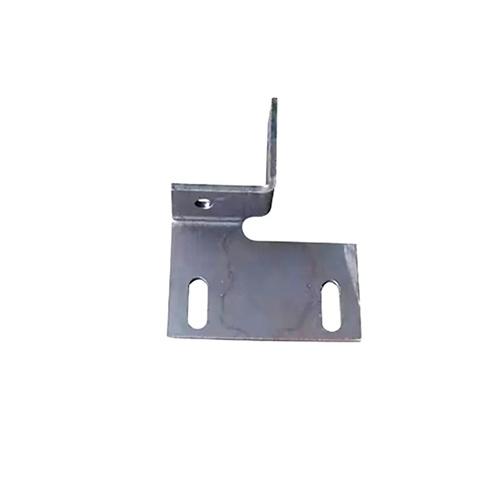
Different materials and part shapes have varying requirements for fillet radius, requiring tailored adjustments. For high-strength steel (σs > 345 MPa), due to its poor plasticity, a larger fillet radius (r concave = 10-20t, r convex = 8-15t) is required to reduce stress concentration and prevent cracking. For example, when deep drawing HSLA steel, r concave = 15t, 50% larger than ordinary low-carbon steel, can increase the drawing success rate to over 95%. For materials with high plasticity but prone to mold sticking, such as aluminum alloys, a medium fillet radius (r concave = 8-12t, r convex = 6-10t) is required, combined with surface chrome plating to reduce sticking. For deep drawing rectangular parts, the corner fillet radius should be 50%-100% larger than that of the straight edges. For example, r concave = 5mm for straight edges and r concave = 8-10mm for corners to mitigate severe deformation at the corners.
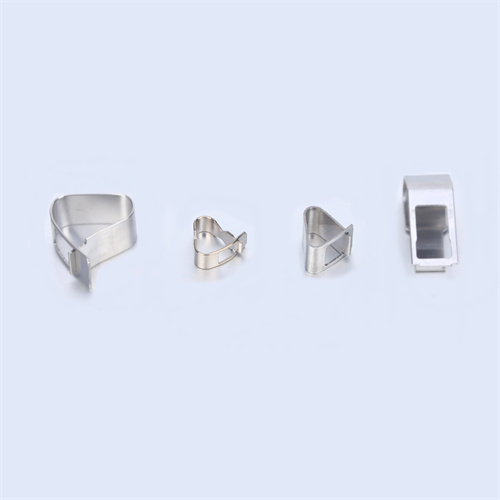
The machining accuracy and surface quality of the fillet radius require strict control, directly impacting the quality of drawn parts and die life. The dimensional tolerance of the fillet radius must be controlled within ±0.1-±0.05mm, with a maximum tolerance of ±0.03mm for high-precision parts (IT8 and above). The fillet surface must be ground and polished to a surface roughness of Ra ≤ 0.8μm to prevent scratches caused by surface roughness. For example, reducing the fillet surface roughness from Ra 3.2μm to Ra 0.4μm reduces mold wear by 40% and reduces the part surface scratch rate from 25% to less than 5%. For high-volume production dies, fillets require surface hardening treatments such as carburizing (case depth 0.8-1.2mm, hardness HRC 58-62) or nitriding (hardness HV 800-1000) to improve wear resistance. Precise design and machining of the fillet radius can significantly improve the stability of the drawing process and part quality.
