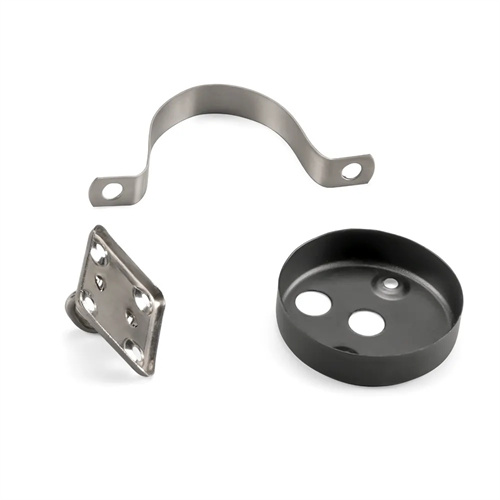
Mold processing lathe processing
Lathe machining, a process used in mold manufacturing, involves rotating the surface of mold parts using a lathe. Primarily used for cylindrical mold components (such as guide pins, guide sleeves, punches, and die cutting edges), it can machine external diameters, internal bores, end faces, and threads, ensuring the dimensional accuracy and surface quality of the parts. Lathe machining, characterized by high efficiency and stable precision, is an essential step in mold manufacturing, and its machining quality directly impacts the mold’s assembly accuracy and service life.
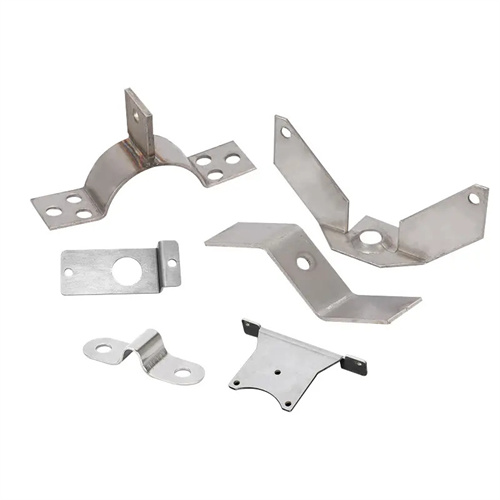
Lathe machining is widely used in mold manufacturing. Key machining targets include the outer diameter of guide pins (diameter accuracy IT6-IT7, surface roughness Ra ≤ 0.8μm), the inner and outer diameters of guide sleeves (inner diameter accuracy H7, outer diameter accuracy M6), the working portion of circular punches (diameter tolerance ±0.005mm), and the outer diameter of die cutting edges. For shaft parts (such as guide pins), lathe machining can be performed through rough turning, semi-finishing, and finishing of the outer diameter, gradually improving accuracy through multiple cuts. Finish turning utilizes high speed and low feed (speed 1000-1500 rpm, feed rate 0.05-0.1 mm/r) to ensure surface roughness meets standards. For sleeve parts (such as guide sleeves), the outer diameter is machined first, followed by machining based on the inner diameter, ensuring coaxiality ≤ 0.01mm between the inner and outer diameters.
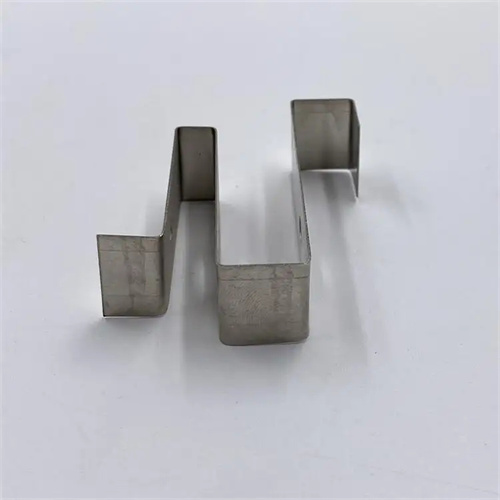
The lathe machining process must be tailored to the part’s precision requirements and material properties. For mold steel parts (such as Cr12MoV), the typical process follows a “rough turning → tempering → semi-finish turning → quenching → finish turning (or grinding)” approach to eliminate internal stresses and ensure dimensional stability. During rough turning, most of the stock is removed (leaving a 2-3mm stock), and low speeds and high feeds (300-500 rpm, 0.3-0.5 mm/r) are used to improve efficiency. After semi-finish turning, tempering treatment (hardness 220-250 HB) is performed to eliminate machining stresses. After quenching (hardness 58-62 HRC), carbide tools are used for finish turning, or grinding is performed with a 0.1-0.2mm stock allowance. For example, the machining process for a guide pin involves rough turning the OD to 32mm (diameter) → tempering → semi-finish turning to 30.5mm (diameter) → quenching → OD grinding to 30mm (IT6 grade) to ensure the required final accuracy.
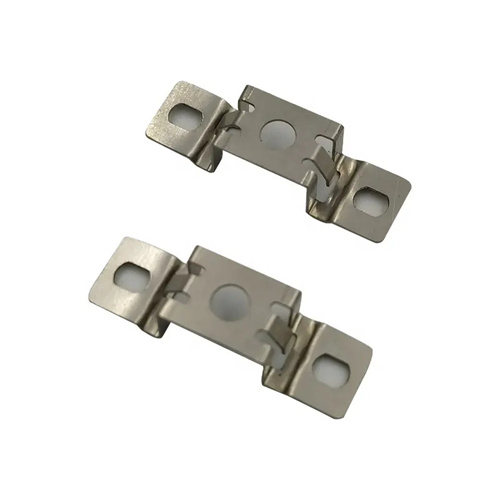
Tool selection for lathe machining significantly impacts machining quality and efficiency. Appropriate tool materials and geometry must be selected based on the material and process. When machining ordinary carbon steel (such as 45 steel), high-speed steel tools (such as W18Cr4V) are used for rough turning, while carbide tools (such as YT15) are used for finish turning. When machining hardened steel (hardness > 50 HRC), cubic boron nitride (CBN) or ceramic tools are required to ensure optimal cutting performance. The tool’s rake and clearance angles must be adjusted based on the material. When machining soft materials (such as aluminum alloys), the rake angle should be 15°-20°, and the clearance angle 8°-12°; when machining hard materials (such as hardened steel), the rake angle should be 0°-5°, and the clearance angle 5°-8°. For example, when finish turning the outer diameter of a guide pin, a YT15 carbide tool with a rake angle of 10°, a clearance angle of 8°, and an inclination angle of 5° can achieve a surface roughness of Ra 0.8μm.
Precision control in lathe machining requires the proper selection of cutting parameters and measurement methods. Dimensional accuracy is primarily ensured through trial cutting and fixed-stroke methods. The trial cutting method is suitable for single-piece, small-batch production. Through repeated cutting, measurement, and adjustment, the design dimensions are gradually approached. For example, when machining the inner bore of a guide sleeve, the feed rate is adjusted by 0.05mm each time, followed by measurement and adjustment to ensure an inner diameter accuracy of H7. The fixed-stroke method is suitable for large-scale production. Dimensions are controlled by adjusting the lathe feed rate and, in conjunction with limit stops, automated machining is achieved. Control of geometric accuracy (such as roundness and cylindricity) requires ensuring the rotational accuracy of the lathe spindle (radial runout ≤ 0.005mm). A steady rest or steady rest is used to support slender parts with an aspect ratio greater than 5 (such as long guide posts) to prevent bending and deformation during machining. Roundness can be controlled within 0.005mm.
Lathe machining of specialized mold parts requires specialized tooling or modified equipment. For example, machining the inner bore of a large die (diameter > 500mm) requires a floor-standing lathe equipped with a specialized positioning fixture to ensure a stable machining process. Threaded core machining requires threading accessories installed on the lathe, using picks or dies, achieving thread accuracy up to 6g. After lathe machining, quality inspection is required. Diameter dimensions are measured with a micrometer (accuracy 0.001mm), roundness and cylindricity are checked with a dial indicator, and surface roughness is measured with a roughness tester. Defective parts require analysis and repair. For example, if dimensional tolerances are exceeded, cutting parameters may be adjusted. If surface roughness exceeds the standard, the tool may be replaced or the feed rate reduced. Strict control of every step of lathe machining ensures the quality of mold parts and provides reliable support for mold assembly and operation.
