Determination of trimming allowance in continuous deep drawing
The trimming allowance in continuous drawing refers to the amount of material removed after each drawing cycle to ensure smoothness and dimensional accuracy at the final part’s mouth. Due to uneven material deformation and springback during the continuous drawing process, the part’s mouth may become uneven, wavy, or have dimensional deviations. Reserving this trimming allowance and removing it after the final drawing ensures that the part meets design requirements. Determining the trimming allowance in continuous drawing requires comprehensive consideration of the number of draws, part height, and material properties, and is a key step in continuous drawing process design.
The trimming allowance for the first deep drawing is relatively small, mainly used to compensate for slight unevenness at the mouth, and is usually 0.5-2mm. The deformation of the mouth of the part after the first deep drawing is relatively small, mainly because the material has good plasticity and the deformation is relatively uniform, so the allowance does not need to be too large. For example, the first deep drawing height of low-carbon steel is 50mm, and the trimming allowance is 1mm, which not only ensures that there is enough material for subsequent deep drawing, but also avoids material waste. The trimming allowance for the first deep drawing needs to be evenly distributed at the mouth. For circular parts, the allowance is uniform along the circumference; for rectangular parts, the corner allowance needs to be 0.2-0.5mm larger than the straight edge, because the corner deformation is more severe and the unevenness of the mouth is more serious.
The trimming allowance for each intermediate drawing pass should be gradually increased, typically by 0.5-1.5mm each time, with the specific value determined by the drawing height and degree of deformation. The trimming allowance for the second drawing pass is generally 1-3mm, the third 2-4mm, and so on. For example, if the second drawing pass is 70mm high, the trimming allowance is 2mm; if the third drawing pass is 90mm high, the trimming allowance is 3mm. The trimming allowance for intermediate drawing passes increases because as the drawing passes increase, the material hardens more, deformation accumulates at the edge, and the degree of unevenness increases. For high-strength materials (such as HSLA steel), the trimming allowance for each intermediate drawing pass should be 20%-30% larger than that for low-carbon steel, as they experience greater springback and more severe edge deformation.
The trimming allowance during the final deep drawing is crucial for ensuring the final dimensions of the part. It must be determined based on the part’s precision requirements and is generally 1-5mm. For standard precision parts (dimensional tolerances IT10-IT12), the trimming allowance is 1-3mm; for high-precision parts (IT8-IT9), the trimming allowance is 3-5mm to ensure that the trimmed dimensions are within tolerance. For example, for a final part height of 100mm with standard precision, the final deep drawing height is 102mm (with a trimming allowance of 2mm); for a high-precision part, the final deep drawing height is 105mm (with a trimming allowance of 5mm). The trimming allowance during the final deep drawing must be accurately calculated before deep drawing to avoid part scrapping due to insufficient allowance or material waste due to excessive allowance.
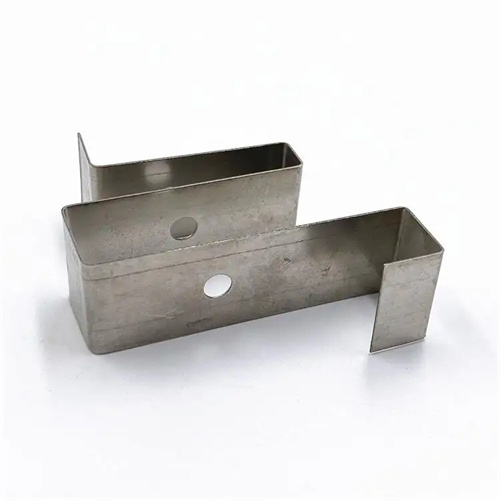
The determination of trimming allowances for continuous drawing requires consideration of the shape and drawing method of the part. For parts with flanges, the trimming allowance of the flange portion needs to be calculated separately, and is usually 1-2mm larger than that of the barrel portion, because the deformation of the flange is more complex and the dimensional deviation is greater. For example, for a cylindrical part with a flange, the trimming allowance for the barrel is 2mm, and the trimming allowance for the flange is 3mm. For continuous drawing of stepped shapes, the trimming allowances for each step need to be determined separately, and the allowances for large steps are 0.5-1mm larger than those for small steps, because large steps are more deformed. When using progressive dies for continuous drawing, the trimming allowances need to remain stable to facilitate automated feeding and positioning. A fixed allowance is usually used (such as increasing by 1mm each time) to ensure that the material size of each station is consistent.
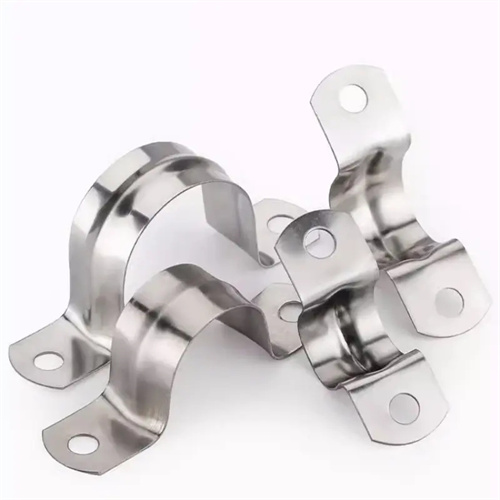
Trimming allowances for continuous drawing must be verified and adjusted through test punching. Theoretically calculated allowances must be revised based on actual drawing conditions. If uncut uneven areas are observed at the part mouth after the test punching, this indicates insufficient allowance and requires an increase for the corresponding number of drawing passes. If the part is undersized after trimming, this indicates excessive allowance and requires a reduction. For example, if a 0.5mm wave is still present at the mouth of the part after the final deep drawing after the test punching, the final trimming allowance must be increased from 2mm to 3mm. For large-scale production, the trimming allowance must account for mold wear and is typically 0.5-1mm larger than for small-scale production to compensate for changes in mouth size caused by mold wear. By scientifically determining and dynamically adjusting the trimming allowance, the dimensional accuracy and surface quality of continuously drawn parts can be guaranteed, improving production efficiency.
