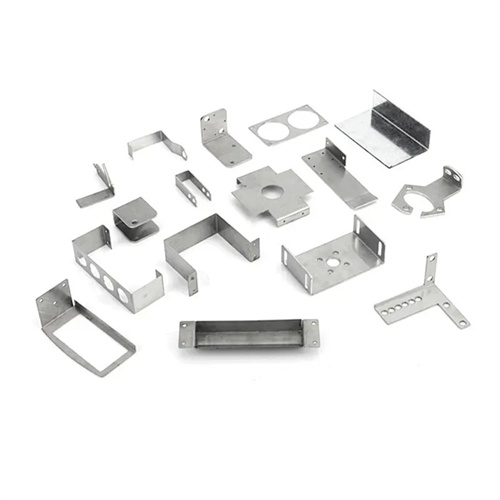
Main equipment and processing methods for mold manufacturing
Mold manufacturing is a comprehensive process involving a variety of equipment and processing methods, with different equipment and methods being suitable for different mold parts and processing stages. Key equipment for mold manufacturing includes metal cutting machines, specialized processing equipment, heat treatment equipment, and testing equipment. Processing methods encompass cutting, specialized processing, heat treatment, and surface treatment. The proper combination of these equipment and methods is key to ensuring mold quality and efficiency.
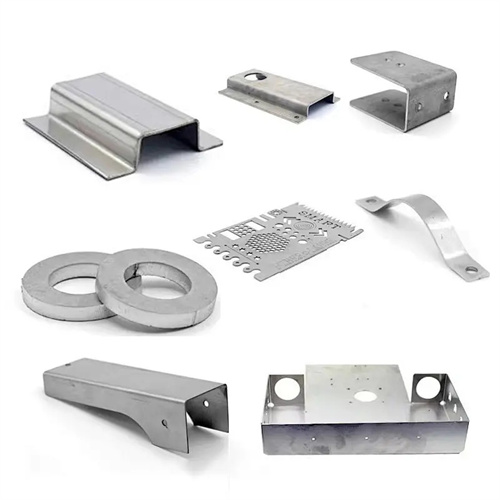
Metal cutting machine tools are essential equipment for mold manufacturing, primarily used for rough and semi-finishing of mold components. These include lathes, milling machines, planers, grinders, and boring machines. Lathes are used to machine rotating parts such as guide pins, guide bushings, and circular punches. They can produce surfaces such as external circles, internal holes, and threads. CNC lathes can achieve machining accuracy up to IT6, with a surface roughness of Ra 1.6μm. Milling machines, divided into vertical milling machines, horizontal milling machines, and gantry milling machines, are used to machine flat surfaces, grooves, and cavities. CNC milling machines can be programmed to machine complex curved surfaces, such as mold cavities and cores, with a machining accuracy of ±0.01mm. Grinding machines, including surface grinders, external cylindrical grinders, internal cylindrical grinders, and jig grinders, are used for finishing parts. Surface grinders can achieve flatness of up to 0.005mm/100mm, while jig grinders can achieve hole machining accuracy of up to ±0.001mm. They are key equipment for ensuring high-precision mold fit.
Specialized machining equipment is used in mold manufacturing to process materials and shapes that are difficult to machine using traditional cutting methods. These primarily include EDM machines, wire EDM machines, electrolytic machining equipment, and laser processing equipment. EDM machines utilize pulsed discharge to remove material, making them suitable for machining complex cavities and holes, such as the die of plastic molds and the cavity of die-casting molds. They offer a machining accuracy of ±0.005mm and a surface roughness of Ra 0.8μm. Wire EDM machines use the high-speed motion of an electrode wire to cut parts, making them suitable for machining special-shaped cutting edges and precision parts, such as the punch and die of a punch. Fast-wire EDM machines offer a machining accuracy of ±0.01mm, while slow-wire EDM machines can achieve an accuracy of up to ±0.001mm. Laser processing equipment utilizes high-energy laser beams for cutting, drilling, and surface treatment. They are suitable for machining thin molds and hardening mold surfaces, with a cutting accuracy of ±0.005mm.
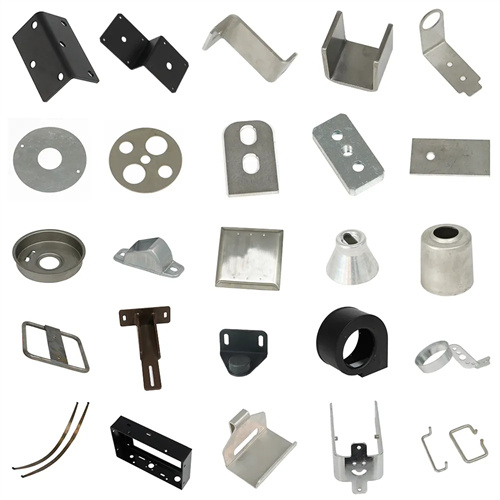
Heat treatment equipment, including chamber furnaces, vacuum furnaces, salt bath furnaces, and aging furnaces, is used to improve the mechanical properties of mold materials. Chamber furnaces are suitable for annealing, normalizing, and quenching general mold parts, with a temperature control accuracy of ±10°C. Vacuum furnaces are used for quenching high-precision mold parts, preventing oxidation and ensuring excellent surface quality, with a temperature control accuracy of ±5°C. Salt bath furnaces offer fast heating rates and are suitable for localized quenching of molds, such as punch cutting edges, achieving uniform hardness. Through a rational heat treatment process, mold steel can achieve a hardness of 58-62 HRC, achieving a balance between wear resistance and toughness. For example, Cr12MoV steel, after quenching at 950°C and tempering at 200°C, can achieve a service life of over 100,000 cycles.
Testing equipment is crucial for ensuring mold processing accuracy, including coordinate measuring machines (CMMs), projectors, surface roughness gauges, hardness testers, and tool microscopes. CMMs can measure the three-dimensional dimensions of complex mold parts with an accuracy of ±0.001mm, making them the core equipment for mold precision testing. Projectors measure the two-dimensional contours of parts with an accuracy of ±0.005mm, making them suitable for inspecting die cutting edges and cavities. Surface roughness gauges measure Ra and Rz values on part surfaces with an accuracy of 0.001μm, ensuring that mold surface quality meets requirements. During the mold manufacturing process, every step requires testing to promptly identify and correct errors. For example, after cavity machining, a CMM is used to check for dimensional and shape errors to ensure consistency with the design.
The processing method for mold manufacturing must be selected based on the part’s material, shape, and precision requirements, resulting in a rational process. For Cr12MoV steel dies, the typical process is: forging → annealing → rough milling → heat treatment and quenching → finishing by grinding → electrospark forming → lapping and polishing. For aluminum alloy cores, the process is: casting → aging → CNC milling → bench trimming → anodizing. Each processing method has its own advantages. Cutting offers high efficiency, while specialized machining is suitable for complex shapes. Heat treatment ensures performance, and testing guarantees precision. Only by combining these equipment and methods can high-quality molds be produced.
