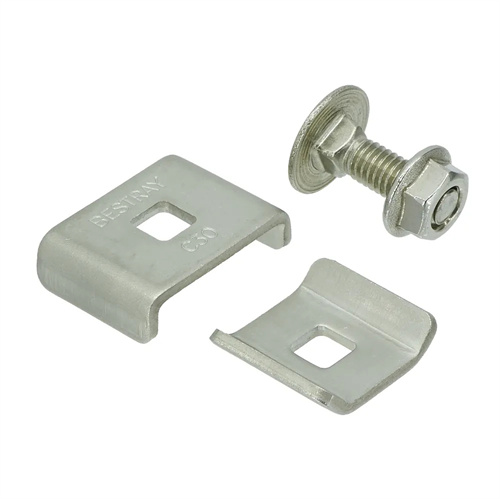
Mold processing boring machine processing
Boring machines in mold manufacturing utilize a boring tool to machine holes, surfaces, and grooves in mold components. They are primarily used for high-precision hole and hole systems, particularly for machining critical holes such as guide pin holes, recessed mold holes, and bearing holes. Boring machines offer high precision (hole diameter tolerances can reach IT6-IT7, with a hole pitch accuracy of ±0.01mm). They can achieve microfeeds (minimum feed of 0.001mm) by adjusting the boring tool. They are crucial for ensuring the precise positioning of mold hole systems and are indispensable for the machining of large, medium, and complex molds.
Boring machines can be categorized by structure into horizontal, vertical, jig, and deep-hole boring machines. Each type of boring machine is suited to different processing requirements. Horizontal boring machines, featuring a liftable spindle and rotatable worktable, are suitable for machining holes in large and medium-sized molds. They can process holes with diameters ranging from 50 to 500 mm, with a pitch accuracy of ±0.02 mm. Jig boring machines, equipped with precision coordinate measuring systems and capable of positioning accuracies of ±0.001 to ±0.005 mm, are suitable for machining high-precision holes (such as die cutting edges for punches and locating pin holes for plastic molds), and are core equipment for precision mold hole machining. Deep-hole boring machines are used to machine deep holes with aspect ratios greater than 5 (such as ejector pin holes for molds). Dedicated chip removal and cooling systems ensure machining accuracy and surface quality.
Boring machines utilize a variety of cutting tools, classified according to the machining method: single-edge, double-edge, and floating boring tools. Single-edge boring tools have a simple structure, controlling the hole diameter by adjusting the tool head extension. They are suitable for rough and semi-finish boring, and can process a wide range of hole diameters (5-1000mm). However, their machining accuracy is significantly affected by operator skill. Double-edge boring tools have symmetrical cutting edges at both ends, ensuring smooth cutting. They are suitable for semi-finish boring of through and blind holes, achieving accuracy up to IT7. Floating boring tools achieve automatic centering by floating the tool body within the boring bar, resulting in high machining accuracy (IT6), with a surface roughness of Ra0.8-1.6μm, and are suitable for finishing holes. For example, when machining the mold guide pin hole (diameter 30H7), first use a single-edged boring tool to rough bore to φ29.5mm, then use a double-edged boring tool to semi-finish bore to φ29.9mm, and finally use a floating boring tool to fine bore to φ30H7, ensuring that the hole diameter accuracy and cylindricity are ≤0.005mm.
Boring machine process parameters are determined based on the material, tool, and precision requirements. For rough boring, a lower speed (100-300 rpm) and a higher feed rate (0.1-0.3 mm/r) are used to improve efficiency, with a cutting depth of 2-5 mm. For fine boring, a higher speed (300-800 rpm) and a lower feed rate (0.05-0.1 mm/r) are used to ensure accuracy, with a cutting depth of 0.1-0.5 mm. For hard materials like hardened steel (hardness 50-60 HRC), carbide or CBN boring tools are required, with a reduced feed rate of 0.03-0.08 mm/r to prevent excessive tool wear. Adequate cooling is required during the boring process, using an emulsion or cutting oil at a flow rate of 10-20 L/min to prevent workpiece deformation and tool damage caused by cutting heat. For example, when boring a concave mold hole of Cr12MoV steel (hardness 58HRC), a surface roughness of Ra0.8μm can be obtained using a CBN boring tool, a speed of 500r/min, a feed rate of 0.05mm/r, and a cutting depth of 0.2mm.
When machining mold holes using a boring machine, the following key technical points must be noted: First, ensure the coaxiality and perpendicularity of the holes. For holes that are far apart (distance > 500mm), a boring die or alignment method must be used. Coaxiality can be controlled to within 0.01mm. Second, when machining stepped holes, the larger hole should be machined first, followed by the smaller hole, to avoid tool interference. Third, when machining blind holes, the boring tool’s extension should be controlled, leaving a 0.5-1mm margin to prevent a flared bottom. Fourth, for precision holes (such as the locating holes in multi-station progressive dies), a jig boring machine is required. Using a precise coordinate system, a hole pitch accuracy of ±0.002mm is guaranteed. For example, the die of a motor stator and rotor die has 12 evenly spaced holes with a pitch requirement of ±0.003mm. This is machined using a jig boring machine. The program controls the movement of the worktable, allowing all holes to be machined in a single setup, with a pitch error of within 0.002mm. Boring machine processing, combined with other processing methods (such as grinding), can further improve the accuracy of mold holes and provide reliable guarantee for the assembly and performance of the mold.
