Calculation of bending forces
Bending force calculation is a core element in bending process design and equipment selection, directly impacting press tonnage selection, mold strength design, and production safety. Bending force refers to the force required to produce plastic deformation in a material during the bending process, and its magnitude is influenced by a variety of factors, including material properties, part geometry, and bending method. Accurately calculating bending force can prevent production interruptions caused by insufficient equipment tonnage or energy waste caused by excessive tonnage, while also providing a strength verification basis for mold structure design.
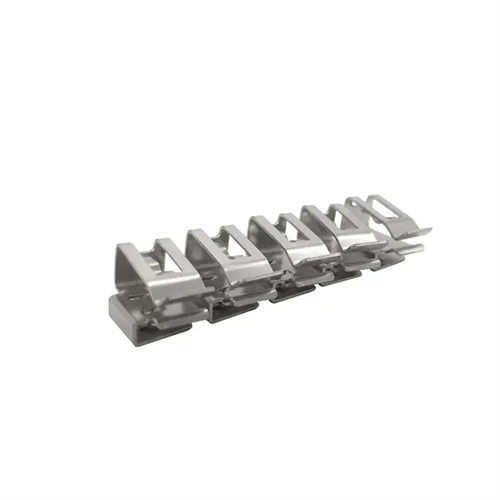
The calculation of the free bending force is applicable to simple bending processes that do not require additional correction. For V-bends, the formula is: Fself = (0.6 × B × t² × σb) / (r + t). Here, Fself is the free bending force (N), B is the width of the bend (mm), t is the material thickness (mm), σb is the material tensile strength (MPa), and r is the inner bend radius (mm). For example, for a mild steel (σb = 450 MPa) V-bend with an 80 mm width, 5 mm thickness, and an 8 mm inner bend radius, substituting this into the formula yields: Fself = (0.6 × 80 × 5² × 450) / (8 + 5) = (0.6 × 80 × 25 × 450) / 13 = (540000) / 13, which is ≈ 41538 N, ≈ 41.5 kN. This formula simplifies the material deformation process and ignores minor factors such as friction, making it suitable for preliminary estimates.
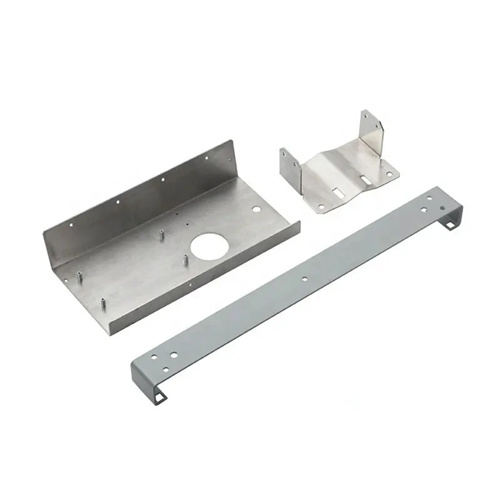
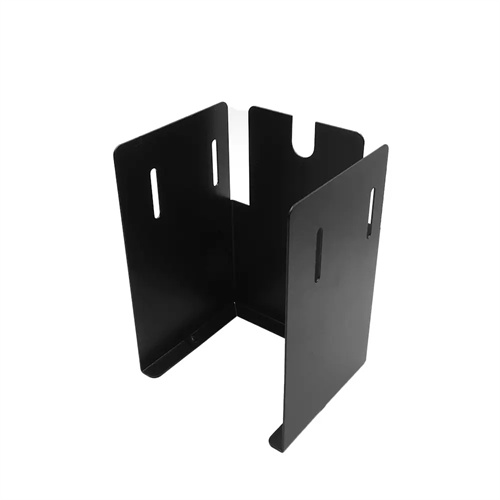
a U -shaped member requires considering the synergistic effect of the two symmetrical bending angles. The formula is: Fself = (0.7 × B × t² × σb) / (r + t). The coefficient of 0.7 is chosen because both sides of the U-shaped member deform simultaneously, resulting in a more even force distribution. For example, for a U-shaped member with the same parameters as above, the bending force is: Fself = (0.7 × 80 × 5² × 450) / 13 = (630000) / 13 ≈ 48462N ≈ 48.5kN. Compared to a V-shaped member with the same parameters, the bending force of a U-shaped member is greater. This is because the bending zones on both sides are subjected to force simultaneously, increasing the overall resistance to deformation.
The calculation of correction bending force is used in applications requiring high-precision forming. In these cases, the material not only undergoes bending deformation but also requires an additional correction force at the end of the bend to reduce springback. The correction bending force calculation formula is: Fcorrection = Kcorrection × σs × A, where Kcorrection is the correction factor (1.2-1.5), σs is the material yield strength (MPa), and A is the projected area of the correction portion (mm²). For example, if the projected area of the correction portion of a U-shaped part is 80mm × 60mm (B = 80mm, correction length 60mm), and the material is 45 steel (σs = 350MPa), assuming Kcorrection = 1.3, then Fcorrection = 1.3 × 350 × 80 × 60 = 1.3 × 350 × 4800 = 1.3 × 1680000 = 2184000N ≈ 2184kN. The correction bending force is significantly greater than the free bending force, typically 3-5 times the free bending force, so special attention must be paid to the load-bearing capacity of the equipment.
Correction of bending force calculations requires consideration of various factors in actual production. Fluctuations in material properties (such as deviations between the measured and designed values of σb or σs) can lead to calculation errors. In such cases, a safety factor of 1.1-1.2 should be multiplied by the calculated result. Excessive or insufficient mold clearance can also affect bending force. Excessive clearance reduces bending force but increases springback, while excessive clearance increases bending force and can easily scratch the workpiece surface. Furthermore, bending force does not change much at bend angles greater than 90°, as beyond 90°, the force primarily serves as a correction rather than bending deformation. Verifying and adjusting calculated values through mold trials can ensure the accuracy of bending force parameters. For example, the theoretical free bending force of a stainless steel bend was calculated to be 50kN. During mold trials, it was found that 65kN was actually required. Inspection revealed that the material’s tensile strength was higher than the designed value. Correction of the calculated parameters confirmed the actual value.
