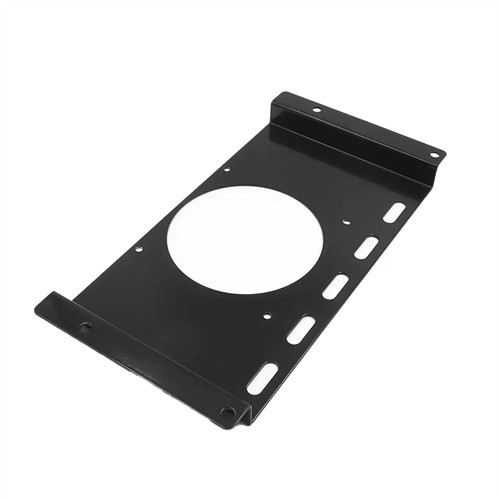
Calculation of unfolded dimensions of bent parts
Calculating the unfolded dimensions of bent parts is a key step in ensuring the final dimensional accuracy of parts during bending process design. Its core principle is to transform the three-dimensional shape after bending into the flat blank dimensions before bending, based on the fact that the length of the neutral layer of the material remains unchanged during the bending process. Accurate unfolded dimensions can avoid material waste and reduce the number of mold trials. Especially for complex bent parts, proper unfolding calculation is essential for ensuring product quality. Calculating unfolded dimensions requires comprehensive consideration of factors such as part geometry, material thickness, bend radius, and bend angle. Specific calculation methods are required for bent parts of different structures.

For simple single-curvature bends (such as V- and U-shaped parts), the unfolded dimensions can be calculated by factoring the lengths of the straight and arc segments. The straight segment length is calculated directly from the actual length of the straight edge after bending, while the arc segment length is calculated based on the neutral layer radius. The neutral layer radius, rmid, = r + kt (r is the inner radius of the bend, t is the material thickness, and k is the neutral layer displacement coefficient). The arc segment length, Larc, = (π × α × rmid)/180 (α is the bend angle, in degrees). For example, a V-shaped bent part has straight sides of 40mm and 50mm on both sides , a bending angle of 90°, an inner radius of 6mm, and a material thickness of 3mm (r/t=2, k=0.43). Then r mid = 6 + 0.43×3=7.29mm, the length of the arc segment = (π×90×7.29)/180≈11.44mm, and the total unfolded size = 40+50+11.44=101.44mm.
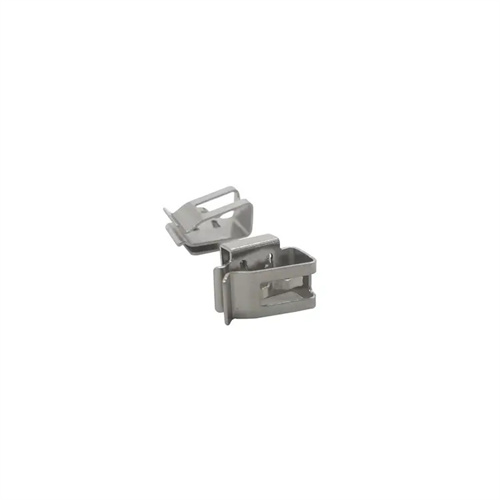
The unfolded dimensions of complex, multi-bend parts (such as Z-shaped and polygonal shapes) require a segmented cumulative approach. This involves breaking the part down into individual curved units, calculating the lengths of the straight and arc segments for each unit, and then summing the calculated lengths. When decomposing, care must be taken to ensure the connections between the curved units are maintained to avoid duplicate calculations or omissions. For example, a Z-shaped part, consisting of two curved corners and three straight segments, requires determining the neutral radius of each curved arc separately, then summing the lengths of each segment. For example, the lengths of the three straight sides of a Z-shaped part are 20mm, 30mm, and 20mm, the two bending angles are both 90°, the inner radius is 4mm, and the material thickness is 2mm (r/t=2, k=0.43). Then the r center of each arc segment = 4 + 0.43×2=4.86mm, the length of a single arc ≈(π×90×4.86)/180≈7.64mm, and the total unfolded size = 20+30+20+2×7.64=70+15.28=85.28mm.
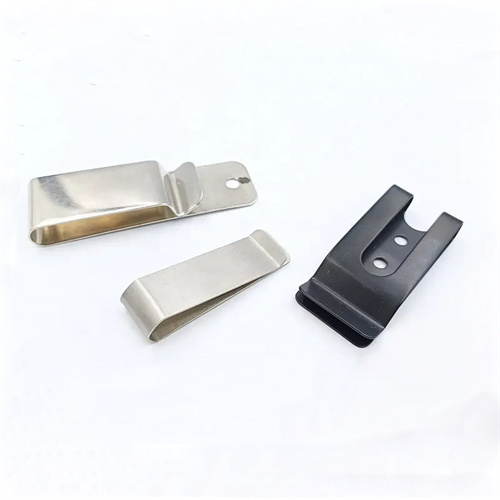
The mechanical properties of a material significantly influence the unfolded dimensions. Plastic materials (such as brass and aluminum alloys) will elongate to some extent during bending, requiring a 0.1%-0.3% correction to be deducted from the unfolded dimensions. Brittle materials (such as high-carbon steel and stainless steel) have lower elongation, so the unfolded dimensions can be determined based on theoretically calculated values. For example, a brass bent part with a theoretically calculated unfolded dimension of 100mm would need to be adjusted to 99.7-99.9mm in actual production. Furthermore, the bending method also affects the unfolded dimensions. Corrected bending, due to more complete plastic deformation, results in greater material elongation than free bending, requiring an appropriate increase in the correction factor.
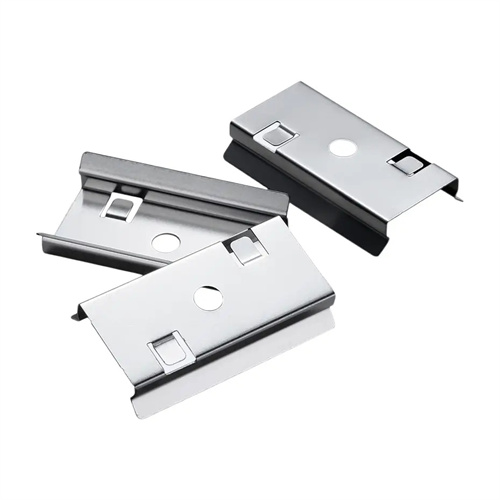
Verification and correction of unfolded dimensions are performed through trial bending tests. During these tests, the blank is produced using the calculated unfolded dimensions. After bending, key dimensions are measured and adjusted based on comparison with design requirements. If the part’s length after bending exceeds the designed value, the unfolded dimensions are too large and should be shortened. If the length is too short, the unfolded dimensions should be increased. For example, a low-carbon steel U-shaped part has a theoretical unfolded dimension of 150mm, but the actual length after the trial bending is 151.2mm. After adjusting the unfolded dimension to 148.8mm, the part meets the required dimensions. For mass-produced parts, the corrections determined during the trial bending tests must be incorporated into the process documentation to ensure production stability.
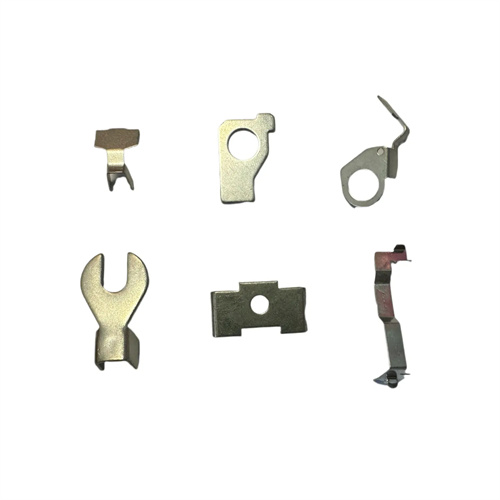
The calculation of unfolded dimensions for special bending processes (such as stretch bending and roll bending) requires consideration of process characteristics. Stretch-bent parts are subject to axial tension, resulting in greater material elongation, and therefore require unfolded dimensions that are 1%-2% smaller than those of standard bent parts. The unfolded dimensions of roll-bent parts must be precisely calculated based on the bend radius and arc length, while also taking into account the length of the straight end sections. With the advancement of computer technology, unfolded dimension calculations can be performed using CAD/CAE software (such as AutoCAD and Dynaform). Through 3D modeling and simulation analysis, unfolded drawings can be directly generated with an accuracy of ±0.1mm, significantly improving calculation efficiency and accuracy. For example, after entering the part model and material parameters into Dynaform, the software automatically calculates and generates unfolded dimensions, while also predicting post-bending springback and dimensional deviation, providing a basis for process optimization.
