Bending force when bending parts are corrected
Corrective bending force during bending refers to the additional corrective force applied to the part at the end of the bend, forcing the material to undergo more complete plastic deformation and reducing springback. Compared to free bending, corrective bending forces are greater, typically 3-5 times greater. The corrective bending force is determined based on material properties, part dimensions, and mold structure. A reasonable corrective bending force ensures dimensional accuracy and shape stability. Excessive force can lead to increased mold wear and surface damage, while too little can prevent corrective effects.
The calculation of the corrective bending force requires consideration of the projected area of the part, the material’s yield strength, and the correction factor. The commonly used formula is: Fcorrect = Kcorrect × σs × A, where Fcorrect is the corrective bending force (N), Kcorrect is the correction factor (1.2-1.5), σs is the material’s yield strength (MPa), and A is the projected area of the part in the correction direction (mm²). Projected area A is calculated as follows: for V-shaped parts, A = B × L (B is the part’s width, L is its length in the correction direction); for U-shaped parts, A = B × (2h + b) (h is the side height, b is the base width). For example, the width of the V-shaped piece made of low carbon steel (σs=240MPa) is 50mm, the length in the correction direction is 30mm, and Kcorrection = 1.3, then Fcorrection = 1.3×240×50×30=1.3×240×1500=468000N=468kN.
Material thickness and bend angle significantly influence the corrective bending force. Thicker materials require greater corrective force, in direct proportion. A larger bend angle increases the area over which the corrective force acts, and the corrective force also increases accordingly. For example, the corrective force for a 2mm thick part is more than twice that for a 1mm thick part. The corrective force for a V-shaped part with a 120° bend angle is approximately 30% greater than that for a 90° part. Furthermore, the smaller the relative bend radius (r/t), the greater the corrective force. This is because bending at a small radius causes more severe material deformation, requiring greater force to ensure sufficient plastic deformation. For parts with r/t < 1, the corrective factor K should be 1.4-1.5; for parts with r/t > 5, K can be 1.2-1.3.
The size of the correction section in the mold structure directly affects the distribution and magnitude of the correction bending force. The radius of the corners of the correction punch and the shape and size of the correction ribs must match the part. Correction ribs are usually designed on the inside or outside of the bent part, with a width of 2-5mm and a height of 0.5-1.5mm. By reducing the contact area, they increase the pressure per unit area and improve the correction effect. For example, setting a correction rib with a width of 3mm and a height of 1mm at the bottom of the V-shaped die can concentrate the correction force on the bending deformation area, improving the correction effect by 40% while reducing the total correction force by 10%-20%. The gap between the correction punch and the die must also be strictly controlled, usually 0.9-0.95 times the material thickness. A gap that is too small will increase the correction force, while a gap that is too large will have no correction effect.
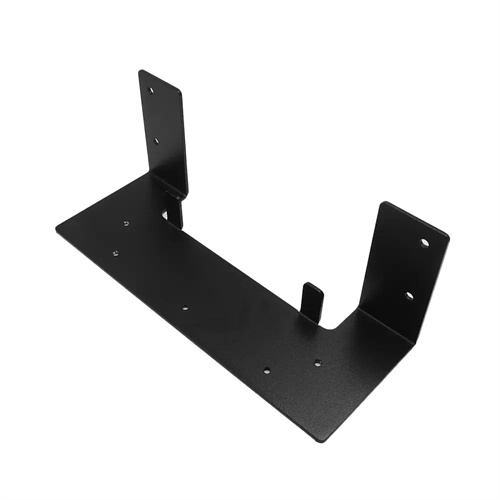
The timing and method of applying the corrective bending force are crucial to the corrective effect. Corrective force should be applied after the part is essentially formed (when the bend angle approaches the target angle), and the pressure should be maintained for 0.5-2 seconds to ensure sufficient plastic deformation of the material. For automated production lines, this can be achieved by controlling the press’s stroke and pressure curve. As the press approaches bottom dead center, the pressure is rapidly increased to the corrective force, then maintained and slowly returned. For example, when correcting the bend of a U-shaped part on an automotive parts production line, the pressure is increased from 100kN to 500kN (corrective force) in the last 5mm of the press stroke, and the pressure is maintained for 1 second. This effectively reduces springback and keeps the angular error within ±0.5°.
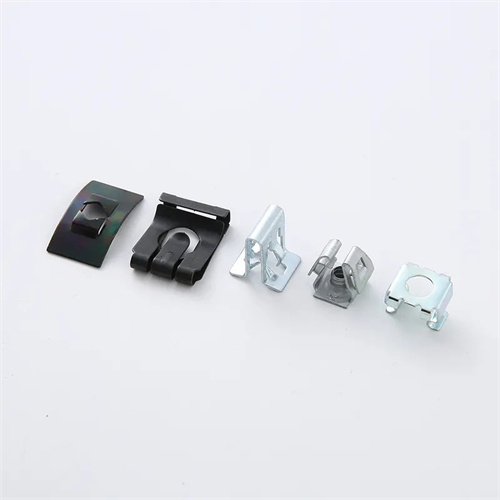
In actual production, the corrective bending force must be determined through mold trials. Theoretically calculated values can be used as a reference. During the mold trials, the surface quality and dimensional accuracy of the bent part are observed, and the pressure is gradually adjusted to the optimal value. If indentations appear on the part surface after the mold trials, the corrective force is excessive and should be reduced appropriately. If the part still experiences excessive springback, the corrective force is insufficient and should be increased. For example, a stainless steel U-shaped part theoretically required a corrective force of 300kN. However, after the mold trials, slight indentations were observed. Reducing the corrective force to 270kN improved the surface quality and met the springback requirements. For mass-produced parts, the corrective force stability should be regularly checked to prevent changes in the corrective force due to mold wear, which could affect product quality.
