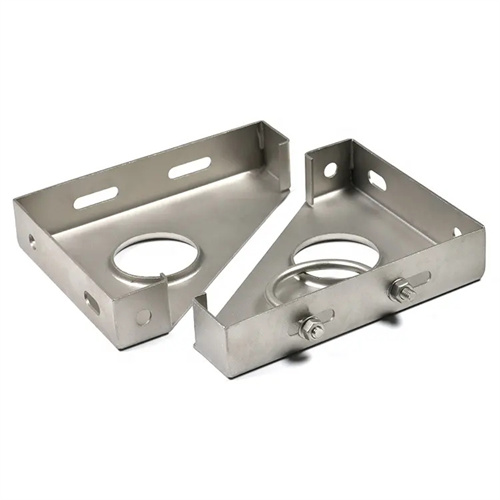
Design of the die for forming the cylinder side wall
The design of the cylindrical side wall forming die is a special technology for forming structures such as ribs and grooves on the side walls of cylindrical parts (such as pressure vessel cylinders and pipe connectors). It is suitable for materials such as low-carbon steel and stainless steel with a thickness of 2-10mm. It can form annular or spiral bulges with a height of 3-15mm and a width of 5-30mm on the side wall. After forming, the verticality error of the side wall is less than 0.2mm/m, and the dimensional accuracy of the ribs is ±0.1mm. The core is to control the flow and deformation of the material in the radial direction through the synergistic effect of the inner and outer molds to avoid excessive thinning of the wall thickness (thinning rate <10%) or cracks during forming. In the early stage of design, the side wall stress distribution needs to be analyzed through finite element simulation (such as ANSYS software) to ensure that the maximum forming force does not exceed 85% of the material yield strength (Q345 steel ≤294MPa), and the transition fillet of the mold cavity is determined according to the shape of the ribs (usually 0.5-1 times the rib height).
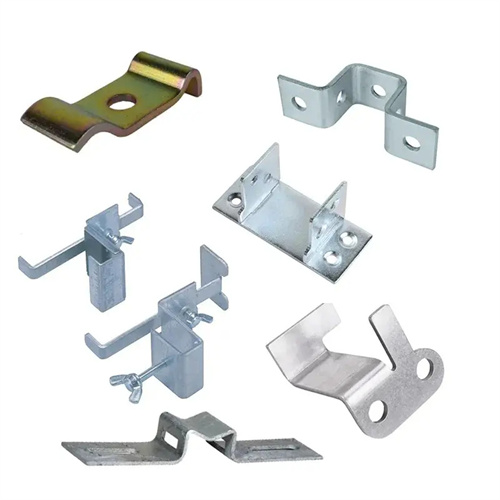
The mold structure consists of an inner support mold, an outer forming mold, an axial positioning mechanism and a pressure drive system. The inner support mold is made of 45 steel quenched and tempered (HRC28-32), chrome-plated on the surface (thickness 0.01mm), and the clearance with the inner wall of the cylinder is 0.1-0.2mm to ensure sufficient support during forming and prevent the side wall from being concave. The outer forming mold is designed in sections (3-6 sections) according to the shape of the convex ribs, using Cr12MoV steel (HRC58-62), the working surface is polished to less than Ra0.8μm, and the splicing gap between each section is less than 0.05mm to avoid steps after forming. The drive system uses a hydraulic cylinder to synchronously drive the outer forming mold. The thrust of each cylinder is calculated according to the forming area ( 10-15kN per square centimeter) to ensure that the forming force of each section is uniform (deviation <5%).
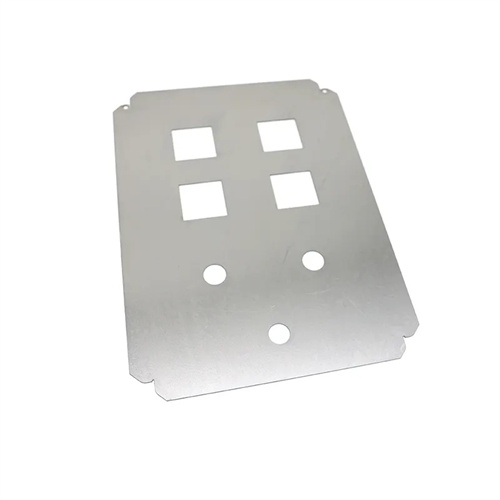
The forming process parameters need to be precisely controlled. For annular ribs, one-time forming is adopted; for spiral ribs, continuous forming is achieved by coordinating the rotation of the cylinder (speed 5-15r/min) and the axial feed of the mold (speed 10-30mm/min). The forming speed is adjusted according to the material thickness. The forming speed is 30mm/min for 2mm thick materials and 5mm/min for 10mm thick materials to avoid local overheating (temperature rise <50℃) caused by excessive speed. Extreme pressure grease (dropping point >180℃) is used for lubrication to form a uniform oil film (thickness 5-10μm) on the contact surface between the outer forming mold and the cylinder, reducing the friction coefficient to below 0.15.
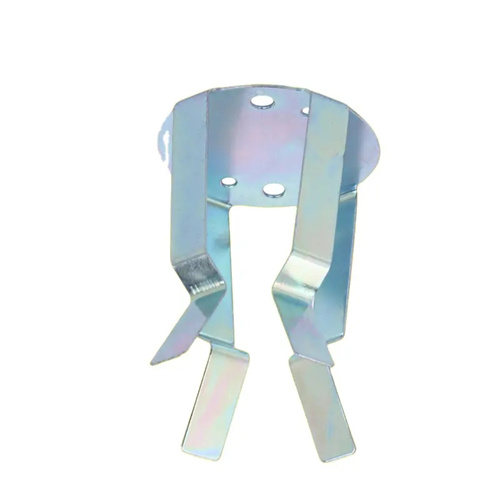
The positioning and guiding system ensures accurate forming position. Axial positioning is achieved by end-face baffles (accuracy ±0.1mm), while radial positioning is achieved by a guide sleeve mating with the cylinder’s outer wall (clearance 0.05-0.1mm). This ensures coaxiality between the rib and the cylinder axis to within 0.1mm. For slender cylinders with aspect ratios greater than 5, auxiliary support rollers (spacing 300-500mm) are installed in the center of the mold to limit radial runout (amplitude <0.05mm). After forming, the cylinder is straightened using a multi-roll straightening machine to maintain straightness within 0.5mm/m.
During commissioning and maintenance, attention is paid to mold fit accuracy. During mold trials, the height and width of the ribs are measured. Five pieces are sampled per batch. If dimensional deviations are found, the cylinder pressure is adjusted (by ±1 kN each time). If cracks occur, the mold cavity radius is increased (by 0.2 mm each time) or the forming speed is reduced. After every 500 cycles, iron filings are cleaned from the surface of the inner support mold, and the outer forming mold is inspected for wear (reground if the profile error exceeds 0.1 mm). For long-term storage, the outer forming mold should be disassembled, the inner support mold should be coated with anti-rust oil, and all moving parts should be lubricated with grease to prevent rust and seizure.
