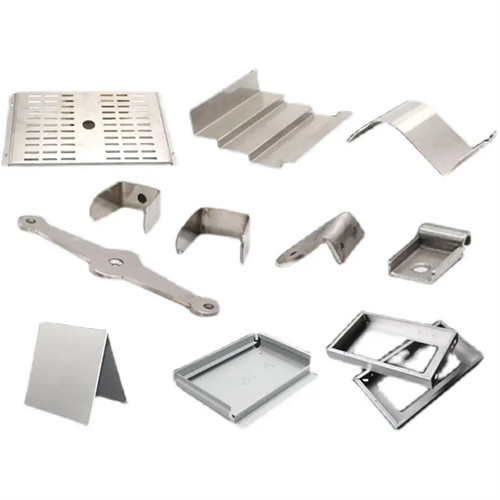
Design of Punching Die for Slanted Cover
The design of the bevel cover punching die is a special die technology for punching cover parts with inclined surfaces (such as automobile engine hoods and equipment inspection covers). It is suitable for materials such as aluminum alloys and stainless steel with a thickness of 1-5mm. It can punch out round holes or special-shaped holes with a diameter of 3-20mm on surfaces with an inclined angle of 15°-60°. The hole position accuracy can reach ±0.1mm, and the verticality error is <0.2mm/m. The core challenge is to solve the problem of uneven force during bevel punching. Through a special positioning mechanism and punch guide design, it is ensured that the punch and the bevel remain perpendicular during the punching process to avoid skewed or broken holes. In the early stage of design, the punch length needs to be determined according to the bevel angle and the aperture. It is usually 10-20mm longer than the punch for vertical punching, and sufficient guide travel is reserved.
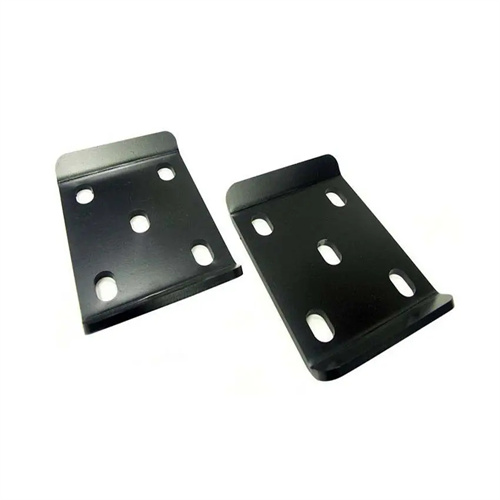
The mold structure consists of an inclined positioning seat, an angle-adjustable punch, a conformable pressure plate, an oblique guide mechanism and a discharge device. The inclined positioning seat is made of HT300 cast iron, and the working surface is processed according to the bevel angle of the part (error <0.5°). The wear-resistant plate (45 steel quenched HRC40-45) is installed on the surface. 3-4 positioning pins are set on the positioning seat to match the process holes of the part (clearance 0.05-0.1mm) to ensure that the part does not slip during punching. The angle-adjustable punch is made of Cr12MoV steel with a quenching hardness of HRC58-62. The punch axis is perpendicular to the working surface of the positioning seat. The head edge is ground with an angle of 5°-8° to reduce the cutting resistance. The matching clearance between the punch and the guide sleeve is 0.01-0.03mm, and the length of the guide sleeve is 3-5 times the diameter of the punch (φ10mm punch takes 30-50mm) to ensure the stable movement of the punch.
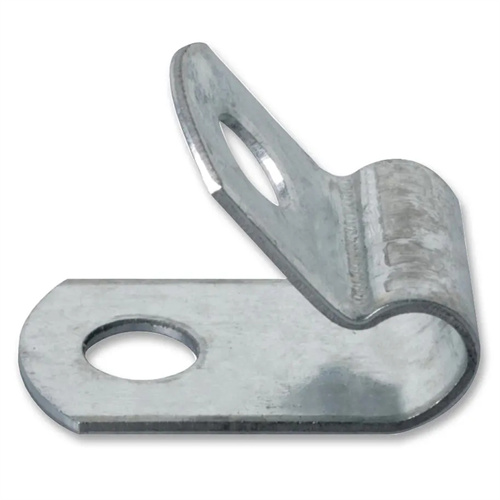
The conformable blank holder is a key component of the bevel cover punching die. Its pressing surface is machined to the part’s bevel contour, achieving a fit greater than 95%. Made of quenched and tempered 45 steel (HRC 28-32), it is coated with a 2-3mm thick polyurethane rubber layer (70 Shore A hardness). This ensures uniform pressing force (5-15kN, adjusted according to part size) while preventing surface damage. Actuated by a nitrogen spring, the blank holder maintains a stable pressing force before punching, preventing uneven material deformation (flatness error <0.3mm). For multi-station punching (e.g., multiple holes of varying diameters on the same bevel), the blank holder requires a clearance hole 0.5-1mm larger than the punch tip to ensure smooth passage.
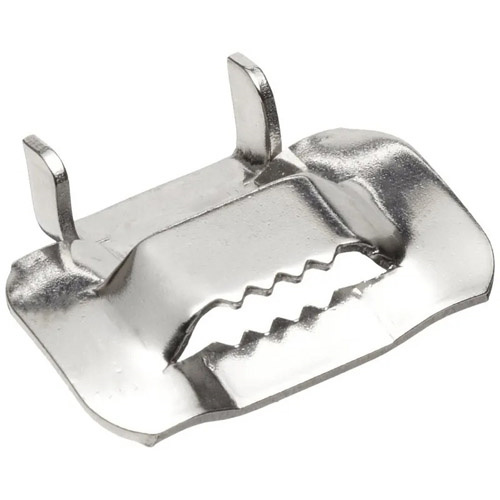
Punching process parameters need to be optimized according to the bevel angle and material properties. The punching speed is controlled at 30-60 times/minute. Too high a speed can easily cause the punch to deflect. For plastic materials such as aluminum alloys, emulsion lubrication (concentration 5%-8%) is used. For high-strength materials such as stainless steel, extreme pressure cutting oil (viscosity 40-60cSt) is required to reduce punch wear. The punching gap is set at 8%-12% of the material thickness. For example, the punching gap of 2mm thick aluminum alloy is 0.16-0.24mm to ensure that there are no obvious burrs at the orifice (height <0.05mm). When the bevel angle is >45°, auxiliary support must be set at the bottom of the mold to support the non-punching area of the part through an adjustable ejector to enhance the overall rigidity and avoid part bending (bending amount <0.2mm).
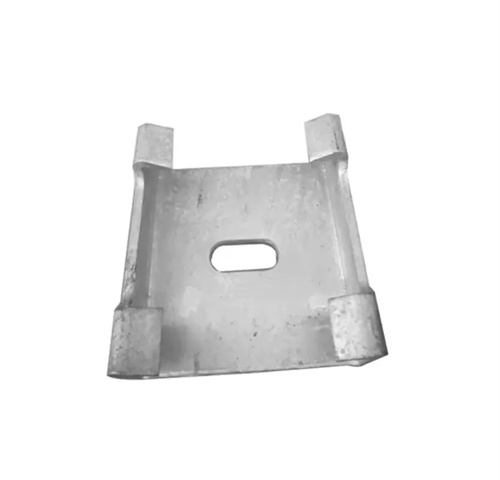
During commissioning and maintenance, special attention should be paid to angular accuracy. During mold trials, use a three-dimensional coordinate measuring machine to check the position and verticality of the holes. Ten pieces are sampled per batch. If the position deviation exceeds 0.1mm, adjust the locating pin position (±0.05mm). If the verticality deviation exceeds the tolerance, recalibrate the perpendicularity between the punch and the locating seat (tolerance <0.05mm/m). After every 3,000 pieces, inspect the punch edge for wear (reground if the radius increases by >0.1mm), clean the aluminum or iron filings from the guide sleeve, and use a special cleaner to remove oil contaminants. During long-term storage, remove the punch from the guide sleeve, apply anti-rust oil separately, and cover the working surface of the locating seat with a dustproof cloth to prevent debris from entering and affecting positioning accuracy.
