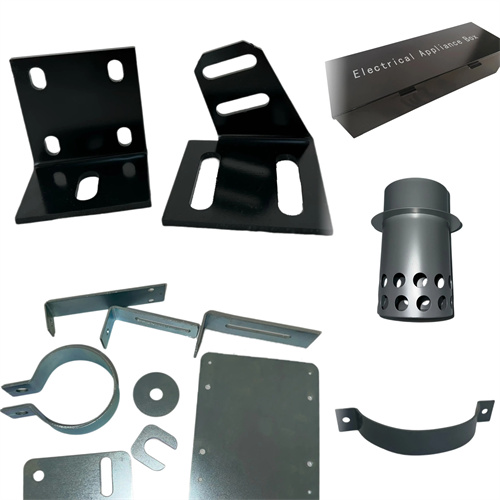
The influence of clearance on part quality
Blanking clearance is a key factor affecting part quality, which primarily includes cross-sectional quality, dimensional accuracy, and shape precision. Clearance significantly impacts these three aspects by altering the material’s separation process and deformation state. A reasonable clearance ensures a smooth, dimensionally accurate, and regularly shaped part. However, excessive or insufficient clearance can lead to rough sections, large dimensional deviations, and shape distortion. Therefore, controlling blanking clearance within a reasonable range is a key measure for ensuring part quality.
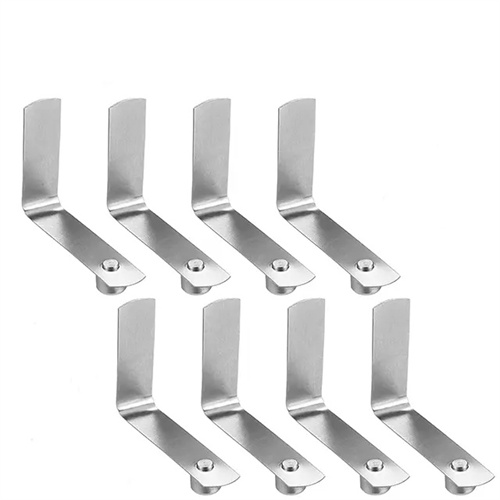
Clearance has the most direct impact on the cross-sectional quality of a part. A reasonable clearance ensures a flat, smooth cross-section. With this clearance, the material, under the action of the punch and die, develops two cracks, one above the other. These cracks propagate smoothly and merge, forming a neat cross-section. The cross-section consists of four components: a fillet, a bright band, a fracture zone, and burrs. The bright band accounts for 40%-50% of the cross-sectional thickness, while the fracture zone is rough but has a small inclination angle, with a burr height of 0.1mm or less. For example, when blanking mild steel, a clearance of 8%-12% of the material thickness is used. The bright band can reach 50% of the material thickness, resulting in a smooth fracture zone and minimal burrs, meeting assembly requirements without the need for further processing.
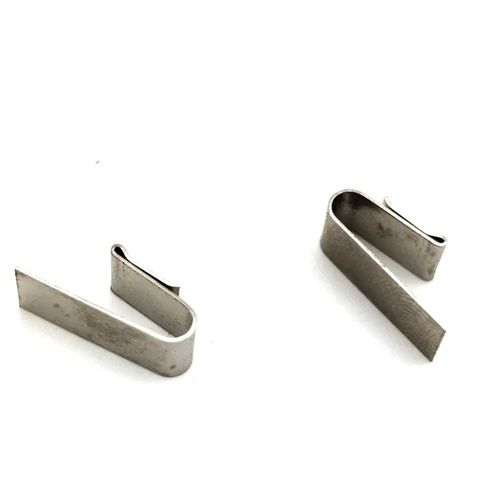
If the gap is too small, secondary shear and severe burrs will appear on the cross-section of the part, significantly reducing quality. This prevents the upper and lower cracks from merging smoothly. During the separation process, the material is squeezed by both the punch and die, resulting in significant plastic deformation and secondary shear. The bright band on the cross-section widens (over 60%), but a tear zone appears below it, creating an overall inverted cone-shaped cross-section. Burrs are large and thick (> 0.2mm in height) and difficult to remove. For example, when punching brass, a gap less than 5% of the material thickness will result in significant secondary shear marks on the cross-section, with burrs as high as 0.3-0.5mm, necessitating additional deburring steps and increasing production costs. Furthermore, an excessively small gap can cause the material to undergo significant elastic recovery after punching, leading to warping at the part edge.
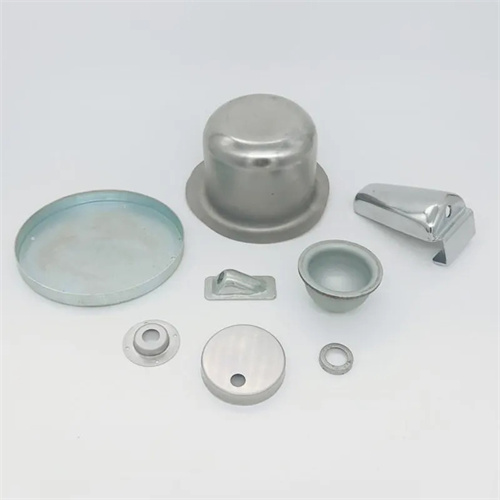
Excessive clearance can lead to a wider fracture zone, rougher surfaces, and reduced dimensional accuracy. Excessive clearance subjects the material to significant tensile forces during the punching process, causing premature crack initiation and propagation away from the cutting edge. This results in a wider fracture zone (accounting for more than 60% of the cross-sectional thickness), a rough surface, and a pronounced taper (smaller at the top and larger at the bottom). Furthermore, excessive clearance can cause significant bending and tensile deformation during separation, reducing the dimensional accuracy of the part. In particular, the blanked part may become smaller than the die, while the punched part may become larger than the punch. For example, when punching 2mm thick steel plate, if the clearance exceeds 0.3mm (15% of the material thickness), the blanked part will be 0.1-0.2mm smaller than the die, resulting in a 3°-5° taper, which is unsuitable for precision assembly.
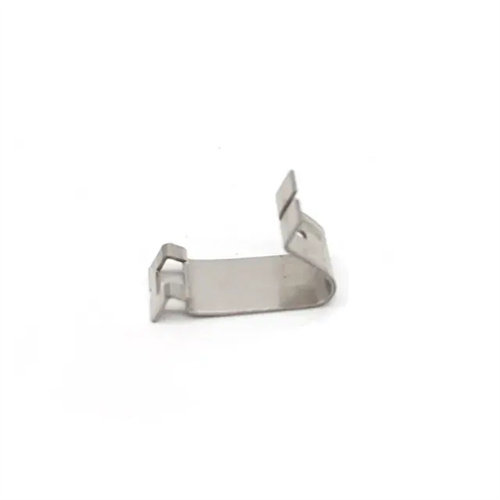
The impact of clearance on part dimensional accuracy is related to material properties and part shape. For plastic materials, clearance changes have a greater impact on dimensional accuracy due to their more pronounced elastic recovery. For example, when blanking aluminum alloys, a 0.05mm change in clearance results in a 0.03-0.04mm change in part dimensional deviation. In contrast, for brittle materials such as cast iron, the same clearance change only results in a 0.01-0.02mm deviation. For parts with complex shapes, uneven clearances can lead to inconsistent dimensional deviations across different parts. For example, on a part with a slot, excessively small clearance at the notch will result in undersize, while normal clearances elsewhere will qualify as acceptable, resulting in distorted part shape. Therefore, the clearances of complex parts must be strictly controlled, with deviations not exceeding ±0.01mm.
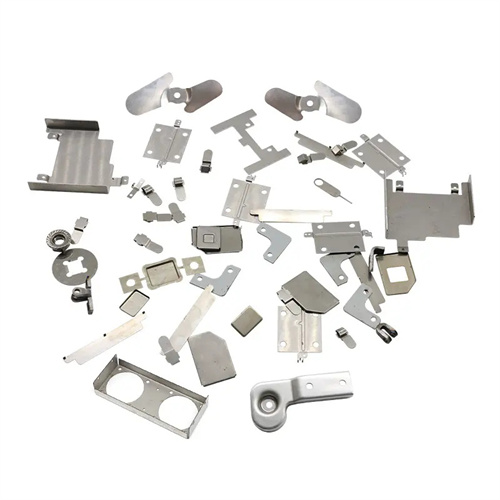
The impact of clearance on part shape accuracy is primarily manifested in warping and deformation. Both excessive and insufficient clearances can cause warping, but the mechanisms differ. When the clearance is too small, the material is subjected to intense compression, and the internal stress released after blanking causes the part to warp toward the die. When the clearance is too large, the material is subjected to significant tension, and the release of internal stress causes the part to warp toward the punch. This warping phenomenon is more pronounced with thin material (t < 0.5mm), and in severe cases, can affect subsequent assembly. For example, when blanking 0.3mm thick silicon steel sheets, an inappropriate clearance can result in warpage exceeding 0.5mm/m, making it impossible to stack motor cores. By adopting an appropriate clearance (8%-10% of the material thickness) and using a press device, warpage can be controlled to within 0.1mm/m, ensuring part shape accuracy.
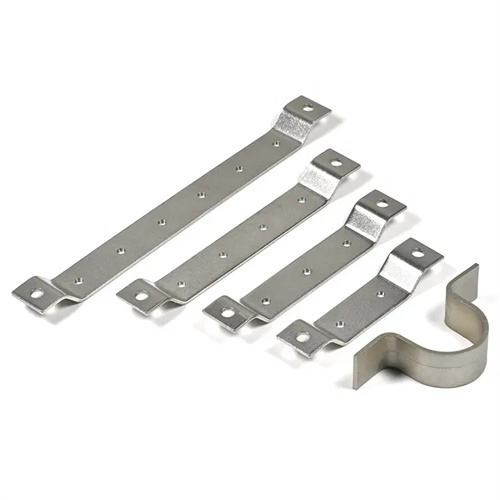
In summary, clearance affects part quality in many ways. During design, a reasonable clearance range must be determined based on material thickness, properties, and part precision requirements. For standard precision parts, the clearance can be controlled within 5%-15% of the material thickness; for precision parts, the clearance should be controlled within 5%-10%, with a deviation of no more than ±0.01mm. During test punching, the cross-sectional quality, size, and shape of the part should be measured, and the clearance adjusted until the requirements are met. If necessary, matching methods should be used to ensure uniform clearance between the male and female dies, thereby stabilizing part quality.
