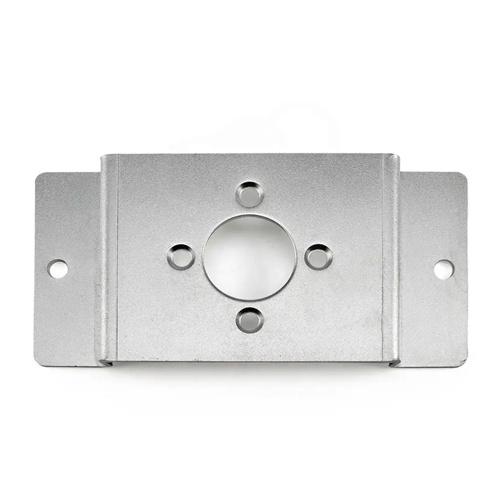
Calculation of the blank size of drawn parts
Calculating the dimensions of drawn parts is fundamental to drawing process design, and its accuracy directly impacts the part’s forming quality and material utilization. The core principle of this calculation is the law of conservation of volume, which states that the volume of the blank before drawing is equal to the volume of the workpiece after drawing (ignoring the effects of material thickness changes). Due to the diverse shapes of drawn parts, calculation methods tailored to their geometry are required. Common drawn parts include those of rotating bodies (such as cylinders, spheres, and cones) and those of non-rotating bodies (such as rectangles and special shapes).
The most common calculation method for cylindrical drawn parts is to calculate their blank dimensions. These blanks are typically circular. The formula for calculating diameter D is based on the principle of surface area equality: D = √(d² + 4dh + 6.28r (d + 2r) + 8r²), where d is the inner diameter of the cylindrical part, h is the height of the barrel, and r is the radius of the bottom fillet. This formula decomposes the cylindrical part into three components: the barrel, the bottom fillet, and the bottom flat surface. The surface areas of each component are calculated separately, then summed and converted to the diameter of the circular blank. For example, for a cylindrical part with d = 60 mm, h = 100 mm, and r = 8 mm, substituting this into the formula yields D = √(60² + 4×60×100 + 6.28×8×(60 + 2×8) + 8×8²) = √(3600 + 24000 + 6.28×8×76 + 8×64) = √(27600 + 3818.24 + 512) = √31930.24 ≈ 178.7 mm. In actual production, to compensate for material thinning, the calculated value can be increased by 0.5% to 1%.
The surface area of the flange must be considered when calculating the blank size of a cylindrical drawn part with a flange. The formula is: D = √ (d₁² + 4d₂h + 6.28r₁(d₂ + 2r₁) + 6.28r₂(d₁ + 2r₂) + 8 (r₁² + r₂²)) , where d₁ is the flange diameter, d₂ is the barrel diameter, r₁ is the fillet radius between the barrel and the flange, and r₂ is the fillet radius of the barrel bottom. For example, for a flanged drawn part with d₁=120mm , d₂=50mm , h=80mm , r₁=6mm , and r₂=5mm , the blank diameter D = √ (120² + 4×50×80 + 6.28×6×(50 + 12) + 6.28×5×(120 + 10) + 8×(36 + 25)) = √(14400 + 16000 + 6.28×6×62 + 6.28×5×130 + 8×61) = √(30400 + 2336.16 + 4082 + 488) = √37306.16 ≈ 193.1mm. Sufficient material must be present in the flange to avoid dimensional failure due to insufficient shrinkage during the drawing process.
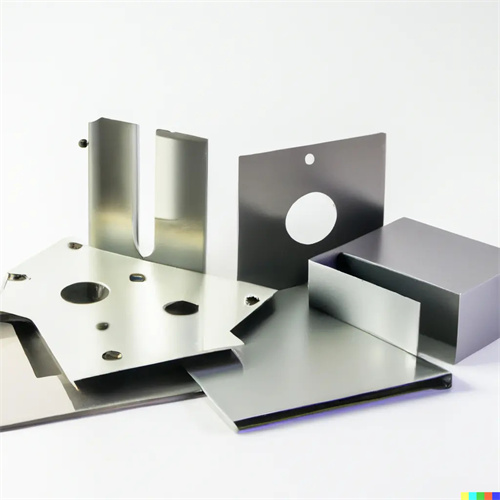
The blank dimensions for spherical drawn parts must take into account the curved surface characteristics of the sphere. The approximate formula for the blank diameter, D, is: D = 1.13√(d³ / (2h)), where d is the diameter of the sphere and h is the height (i.e., the drawing depth). For a complete hemispherical part (h = d/2), the formula simplifies to D = 1.13d. For example, for a hemispherical part with a diameter of d = 100mm, the blank diameter, D, is 1.13 × 100 = 113mm. For incomplete spherical parts, the formula must be adjusted based on the sphere’s height, or a more accurate volume calculation method can be used: first calculate the volume of the spherical part, V = (πh²(3d – 2h))/3. Then, based on the blank volume, V = πD²t/4 (t is the material thickness), we obtain D = √(4V/(πt)). The material deformation of spherical parts is complex during deep drawing. After the blank size is calculated, it needs to be corrected through trial punching, usually adding 1% to 2% of the margin.
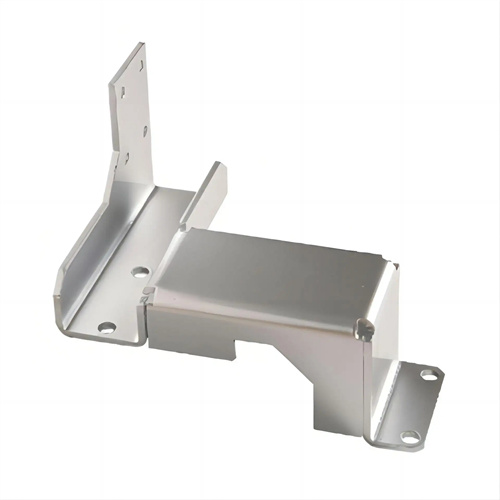
The blank size calculation for rectangular drawn parts requires the use of irregular blanks based on their shape characteristics. For low rectangular parts (small height), the blank can be designed as a rectangle with rounded corners. Dimension calculation is based on equal surface area: Blank area = bottom area + four sidewall areas + four fillet transition areas. For example, a rectangular part with a length of 120mm, a width of 80mm, a height of 30mm, and a fillet radius of 10mm has a surface area S = 120×80 + 2×(120×30 + 80×30) + 4×(10×30×3.14/2) = 9600 + 2×(3600 + 2400) + 4×471 = 9600 + 12000 + 1884 = 23484 mm². If the blank is a rectangle with rounded corners, with length a, width b, and corner radius R, then the blank area S = a × b + (πR² – 4R²) (the area of the rounded corners). Solving this equation yields the blank dimensions. For tall rectangular parts, the blank is often elliptical or “racetrack” shaped to accommodate the material required for deep drawing of the corners.
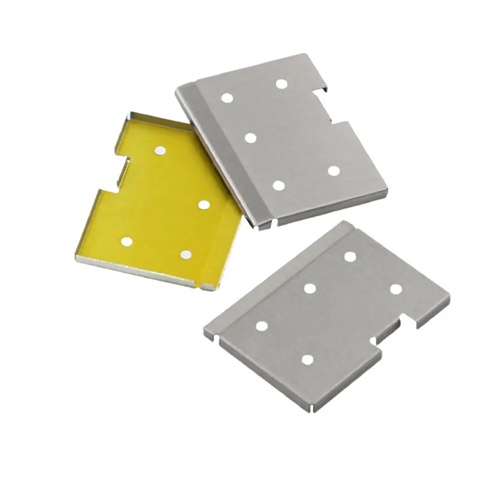
The blank dimensions for special-shaped drawn parts (such as stepped and irregular shapes) require segmented calculation or finite element simulation. For stepped drawn parts, the surface area of each step must be calculated separately, and the resulting blank dimensions are then aggregated to determine the final dimensions. Blank shapes are typically circular or irregular, approaching the large end. Calculating the blank dimensions for irregularly shaped drawn parts is the most complex, requiring a combination of empirical formulas and trial punching corrections. If necessary, blank development diagrams can be created using computer-aided design software (such as AutoCAD), or material flow simulation using finite element software such as Dynaform can be used to optimize blank dimensions. For example, for large, irregularly shaped drawn parts like automotive panels, blank dimensions must be determined through multiple simulations and trial punchings to ensure even material distribution and minimize wrinkling and cracking defects. Through scientific calculation methods and necessary trial punching corrections, accurate blank dimensions can be achieved, ensuring a smooth process.
