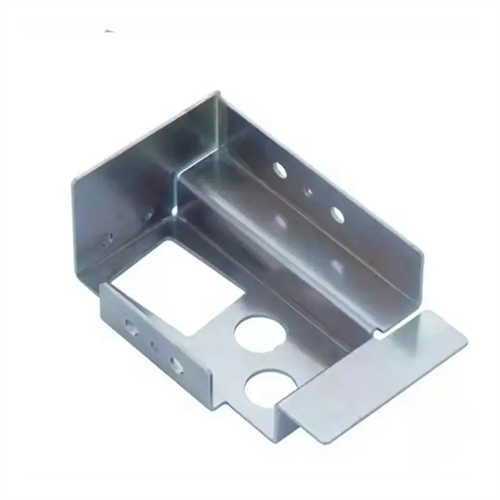
Drawing process calculation
Drawing process calculation is a crucial preparatory step before production. It provides a scientific basis for determining the drawing times, process parameters, and die dimensions, directly impacting the quality of drawn parts and production efficiency. Drawing process calculation involves multiple aspects, including the drawing coefficient, drawing force, blank holder force, and punch and die dimensions. These calculations must be comprehensively considered based on the mechanical properties of the material, the geometric parameters of the part, and the performance of the production equipment to ensure the stability and economic efficiency of the drawing process.
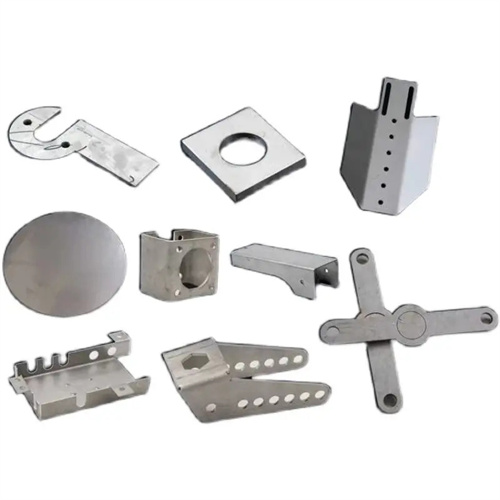
Calculating the drawing coefficient is the core of deep drawing process calculations, reflecting the degree of deformation during deep drawing. The drawing coefficient, m , is defined as the ratio of the diameter of the workpiece after drawing to the diameter of the blank (or semi-finished product) before drawing: m = d / D , where d is the diameter of the workpiece after drawing and D is the diameter before drawing. For the first drawing pass, m₁ = d₁ / D₀ ( D₀ is the original blank diameter); for subsequent drawing passes, mₙ = dₙ / dₙ₋₁ . The smaller the drawing coefficient, the greater the degree of deformation. During calculations, ensure that each drawing coefficient exceeds the material’s corresponding limit drawing coefficient; otherwise, cracking may occur. For example, the initial limit drawing coefficient of low-carbon steel is 0.5-0.55 . If the diameter of a part after the initial drawing is 50 mm and the original blank diameter is 100 mm , then m₁ = 50 / 100 = 0.5 , which is within a reasonable range. If the original blank diameter is 110 mm , then m₁ = 50 / 110 ≈ 0.45 , which is less than the limit value. The blank size needs to be adjusted or the number of drawing times needs to be increased.
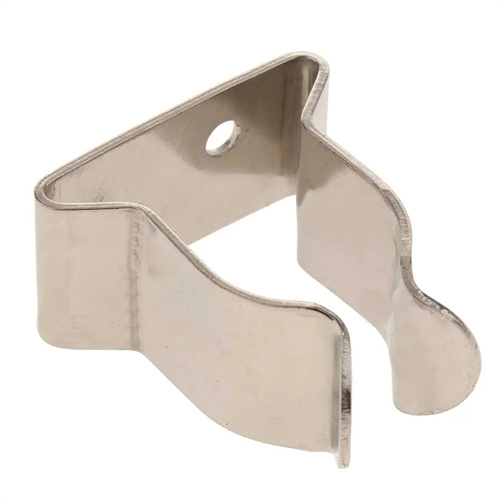
Drawing force calculations are used to verify that the press’s tonnage meets requirements and to avoid equipment overload. The formula for calculating drawing force F is: F = K × π × d × t × σb, where K is the correction factor (K = 0.5-0.8 for initial drawing, K = 0.8-1.0 for subsequent drawing), d is the diameter of the workpiece after drawing, t is the material thickness, and σb is the material’s tensile strength. For example, for a low-carbon steel cylindrical part with a drawn diameter of d = 80 mm, a material thickness of t = 2 mm, and σb = 450 MPa, and K = 0.6 during initial drawing, the drawing force F = 0.6 × 3.14 × 80 × 2 × 450 (approximately 0.6 × 3.14 × 80 × 2 × 450 = 135,648 N, approximately 135.6 kN). The calculated drawing force must be less than the nominal pressure of the press, and the working characteristics of the press must be taken into consideration. For example, a 20% to 30% margin must be reserved for a single-action press, and this can be appropriately relaxed for a double-action press.
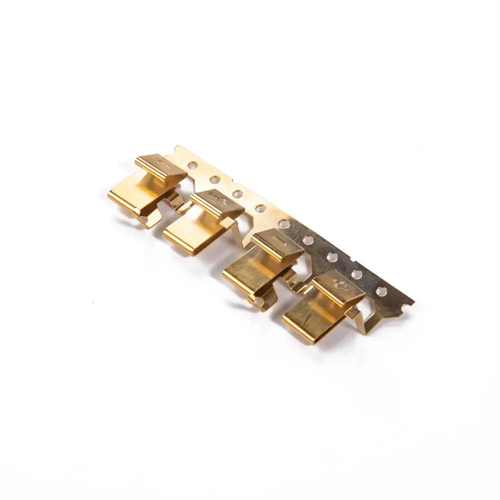
Calculating the blank holder force is key to preventing flange wrinkling during deep drawing, and its magnitude must be appropriate. The blank holder force, Q, is calculated as: Q = A × q, where A is the area of the flange (A = π × (D² – d²)/4) and q is the unit blank holder force (selected based on the material type; for mild steel, q = 2-3 MPa, for stainless steel, q = 4-6 MPa). For example, if the flange diameter of a drawn part is D = 120 mm, the drawn diameter is d = 60 mm, the material is low-carbon steel, and q = 2.5 MPa, then the flange area A = 3.14 × (120² – 60²) / 4 = 3.14 × (14400 – 3600) / 4 = 3.14 × 10800 / 4 ≈ 8478 mm² = 0.008478 m², and the blank holder force Q = 0.008478 × 2.5 × 10⁶ ≈ 21195 N ≈ 21.2 kN . Too little blank holder force can easily cause wrinkling, while too much increases the drawing force and mold wear. In actual production, this can be adjusted through trial punching, generally keeping it within 10% to 20% of the drawing force .
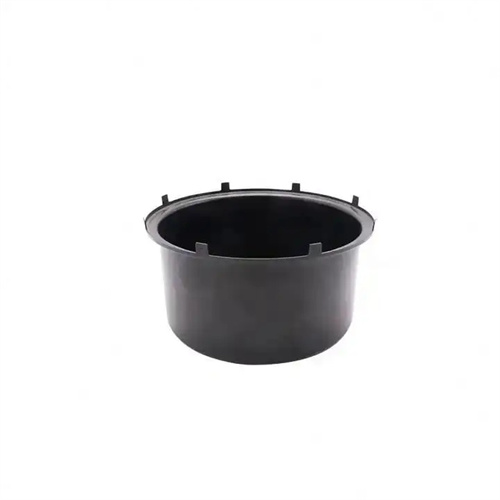
The calculation of punch and die dimensions and clearance directly impacts the dimensional accuracy and surface quality of drawn parts. For parts drawn after blanking, the die size is the maximum limit of the part, and the punch size is the die size minus the clearance Z, i.e., d convex = d concave – Z. For parts drawn before punching, the punch size is the minimum limit of the part, and the die size is the punch size plus the clearance Z, i.e., d concave = d convex + Z. The clearance Z is typically 10% to 20% of the material thickness, with smaller values being used for high-precision parts and larger values for standard parts. For example, for a low-carbon steel drawn part with a material thickness of 1mm, the clearance Z can be 0.1 to 0.2mm. If the die size is 80mm, the punch size is 80 – 0.2 = 79.8mm. The fillet radius of the male and female dies also needs to be calculated accurately. The fillet radius of the female die rconcave is generally (5~10) t, and the fillet radius of the male die rconvex is (0.7~0.8) rconcave to ensure smooth flow of material.
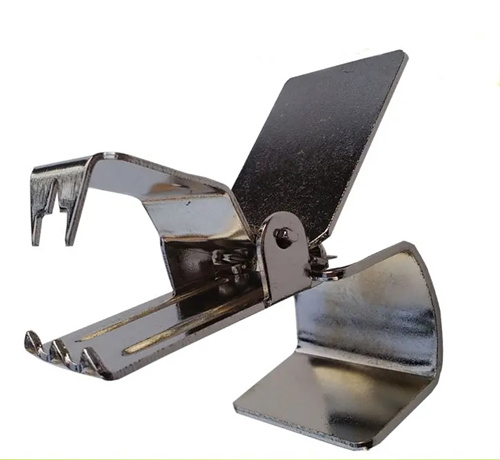
The process dimension calculation for multiple deep drawing requires a reasonable distribution of the deformation of each deep drawing to ensure uniform deformation of the material. The diameter after each deep drawing d ₙ = m ₙ × d ₙ₋₁ , the height h ₙ can be calculated according to the principle of volume invariance: h ₙ = (D ₀² – d ₙ² ) / (4d ₙ ) – 0.5 ( rconcaveₙ + rconvexₙ ) . For example, a part undergoes three deep drawing passes with an initial blank diameter of D₀=200mm , an initial drawing coefficient of m₁=0.55 , d₁=0.55×200=110mm , rconcave₁ =10mm , and rconvex₁ = 8mm . Then, h₁=(200² – 110²)/(4×110) – 0.5×(10 + 8)=(40000 – 12 100)/440 – 9=27900/440 – 9 , which equals 63.41 – 9, or 54.41mm. The dimensional calculations for subsequent deep drawing passes are similar, ensuring that the final drawing meets the part’s requirements. Accurate deep drawing process calculations ensure controllable deep drawing processes, laying the foundation for high-quality production.
