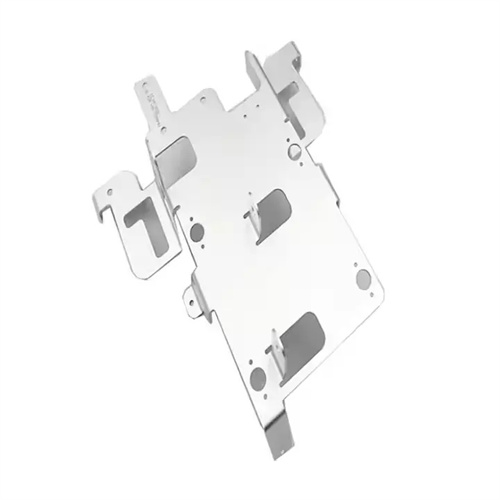
Mold fitter filing
Mold fitter filing involves manually cutting the surface of mold parts using a file. Primarily used to adjust the size, shape, and surface finish of parts, it is one of the most fundamental and crucial skills for mold fitters. With a precision of up to 0.01mm and surface roughness down to Ra0.8μm, filing is ideal for final finishing of mold parts and machining precision mating surfaces. Filing offers unique advantages for narrow areas, irregularly shaped surfaces, and precision mating surfaces that are difficult to machine. Mold fitter filing follows the principle of “coarse to fine, large to small.” By choosing the right file and filing method, design requirements can be gradually achieved.
Selecting the right file type, specification, and cut is crucial for ensuring filing quality and efficiency. The appropriate file type, specifications, and cut must be selected based on the material being worked on, the surface shape, and the required precision. Files are categorized by shape into flat files (for flat surfaces and external circles), square files (for square holes and corners), triangular files (for triangular holes and angles), round files (for round holes and arcs), special-shaped files (for complex shapes), and assorted files (for small details). File cuts are categorized by tooth size into coarse (4-12 teeth/10mm, suitable for roughing), medium (13-24 teeth/10mm, suitable for semi-finishing), fine (25-40 teeth/10mm, suitable for finishing), and polished (40-60 teeth/10mm, suitable for surface finishing). When working with hard materials like mold steel, choose a fine-tooth file to prevent rapid wear of the teeth. When working with soft materials like aluminum alloy, choose a coarse-tooth file to prevent filings from clogging the teeth. For example, to trim the cutting edge surface of a Cr12MoV steel die, use a 150mm long fine-tooth flat file; to trim the arc surface of an aluminum alloy core, use a 100mm long medium-tooth round file.
Basic filing methods include forward filing, cross filing, and push filing, each suitable for different machining stages and surface requirements. Forward filing, where the file moves in a single direction, produces uniform file marks. It’s suitable for finishing and final finishing of flat surfaces, achieving a surface roughness of Ra1.6-3.2μm. Cross filing, where the file moves in a crosswise direction, creates a network of file marks. It’s suitable for roughing and semi-finishing flat surfaces, quickly removing excess stock and assessing flatness, with an efficiency 30%-50% higher than forward filing. Push filing, where the file is held with both hands and pushed horizontally across the workpiece surface, is suitable for narrow, long surfaces and finishing, achieving a surface roughness of Ra0.8μm. For example, when machining the flat surface of a mold fixture plate, cross filing is used to remove 2-3mm of excess stock, followed by forward filing to achieve flatness of 0.01mm/100mm. Finally, push filing is used to improve the surface finish.
Filing different areas of mold parts requires specific techniques. When filing flat surfaces, keep the file horizontal. Adjust the workpiece angle by rotating the vise, ensuring the filing direction forms a 45° angle with the edge. Each filing should overlap by 1/3 of the file width to avoid localized dents. When filing curved surfaces, move the round file tangentially along the arc while continuously rotating the file to ensure a consistent arc radius. For convex arcs, file along the arc direction, while filing concave arcs horizontally. When filing corners, control the file angle to avoid scratching adjacent surfaces. Apply tape to corners for protection. Once the file is close to the desired finish, use a screed file for fine finishing. For example, when filing the right-angled edge of a mold punch, first use a flat file for rough filing, leaving a 0.1mm margin. Then, use a fine-tooth file to lightly file perpendicular to the edge. Finally, use a polishing file to remove burrs and ensure the edge is free of rounded corners and scratches.
Filing quality control requires timely measurement and inspection using measuring tools. Dimensional control can be achieved using the “trial filing method.” This involves measuring with a micrometer or vernier caliper after each filing, gradually approaching the required dimension. A final 0.01-0.02mm allowance should be lightly filed to avoid over-tolerance. Flatness can be checked by placing the workpiece on a flat surface and measuring the gap with a feeler gauge or by light transmission. Uniform light transmission indicates good flatness, while localized light transmission requires targeted filing. Surface roughness can be visually compared to a standard sample or measured with a roughness meter to ensure compliance with design requirements (e.g., Ra ≤ 1.6μm for mating surfaces). Safety precautions must be taken during filing. The file must be securely mounted to prevent the handle from falling and injuring personnel. The workpiece must be securely clamped to prevent loosening and file deviation. File shavings must be promptly cleaned, using a wire brush to clean between the teeth to prevent scratches on the workpiece surface. Through standardized procedures and strict quality control, mold and die filing can reliably ensure the precise fit of mold parts.
