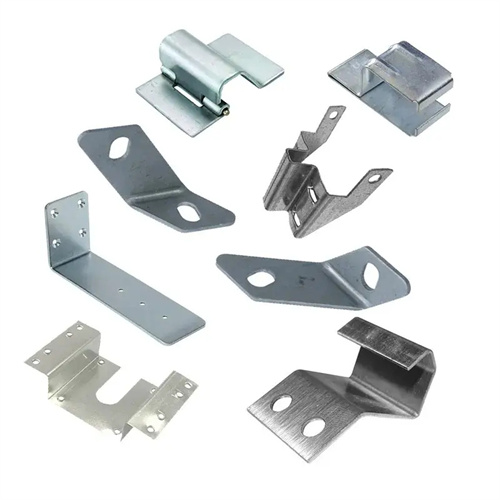
Determination of Springback Value of Bending Parts
The springback value of a bent part refers to the difference between the actual angle or radius of the bent part after unloading and the die’s formed dimensions. It is a crucial factor in mold design and process adjustments. Accurately determining the springback value can avoid the increased costs and cycle times associated with excessive mold trials. Especially for mass-produced bent parts, the accuracy of the springback value directly impacts the product yield. Determining the springback value requires a combination of theoretical calculations, experimental testing, and simulation analysis, taking into account factors such as material properties, bending parameters, and mold structure to generate scientifically sound springback data.
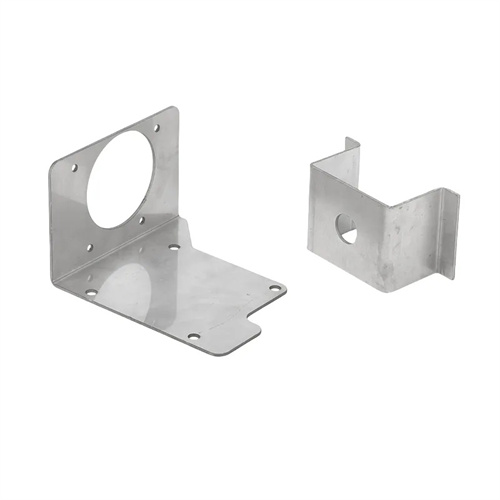
The theoretical calculation method is the fundamental method for determining the springback value. It estimates the springback angle and radius using material mechanics formulas and is suitable for the preliminary design of simple bends (such as V-shaped and U-shaped parts). For V-shaped bends, the springback angle Δα is calculated as follows: Δα = (3σs × r × α) / (E × t) × (180/π), where σs is the material yield strength, r is the bend radius, α is the bend angle (radians), E is the elastic modulus, and t is the material thickness. For example, for 2mm thick mild steel (σs = 240 MPa, E = 210 GPa) bent 90° (1.57 radians) with a bend radius of 5mm, substituting this formula yields Δα ≈ 1.2°, which is close to the actual test value. For U-bends, the springback radius Δr is calculated as: Δr = (3σs × r²) / (E × t²). This can be used to estimate the radius springback. However, the theoretical calculation does not take into account factors such as mold clearance and friction. The error is usually 20%-30%, which needs to be corrected based on actual conditions.
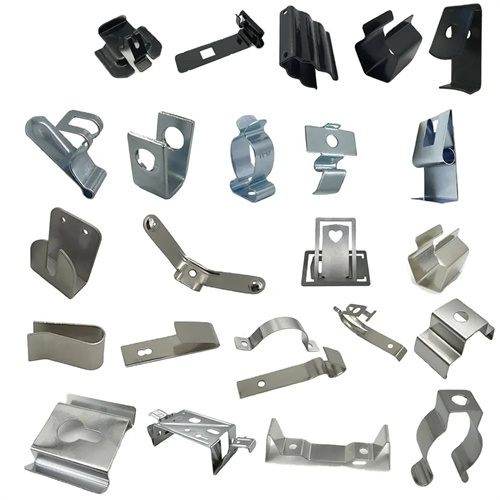
The experimental testing method involves directly measuring the springback value through test bending of test specimens. This method is the most reliable for determining springback values and is applicable to all types of bent parts. A simple mold must be constructed or an existing mold must be used. The specimen is bent according to the designed parameters. After unloading, the actual angle and radius are measured using a universal protractor, a coordinate measuring machine, or other tools. The springback value is then compared with the mold dimensions to determine the springback value. The test should be repeated at least three times, and the average value taken to minimize error. The springback value should also be tested under different process parameters (such as bending speed and correction force) to determine the optimal parameter range. For example, in a test bending test of a brass U-shaped part (H62), the mold angle was 90°, and the measured angle after bending was 92.5°, resulting in a springback value of 2.5°. After increasing the correction force from 30kN to 50kN, the measured angle was 91.2°, and the springback value dropped to 1.2°, providing critical data for mold design.
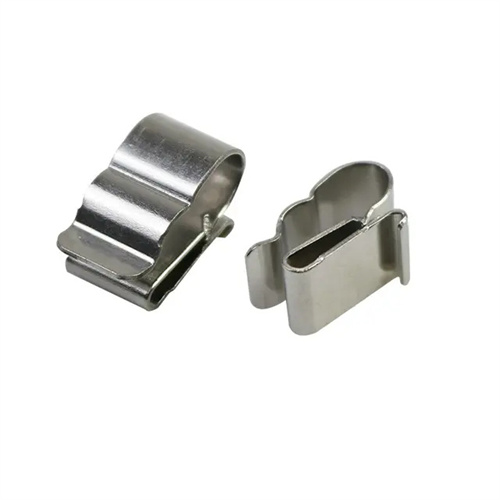
The empirical data table method uses extensive test data to create tables of springback values. These tables are categorized by material type, thickness, and relative bend radius, allowing for direct reference during design. This method is suitable for situations where testing is lacking or during the preliminary design phase. Commonly used empirical data include: a springback angle of 1°-3° for mild steel (t=1-3mm, r/t=2-5); a springback angle of 0.5°-2° for brass (t=1-3mm, r/t=2-5); and a springback angle of 2°-5° for aluminum alloy (t=1-3mm, r/t=2-5). These tables should be regularly updated based on actual production practices, incorporating springback data for new materials and processes. For example, the empirical springback value for high-strength steel (DP590) is 3-4 times higher than that of standard mild steel and requires separate entry. While the advantage of using empirical data tables is speed and convenience, their disadvantage is limited accuracy, requiring caution when using them for complex parts.
CAE simulation analysis utilizes finite element software (such as ABAQUS and Dynaform) to simulate the bending process and calculate springback values. This method is suitable for predicting springback for complex bent parts and new materials. The simulation requires an accurate material model (inputting parameters such as stress-strain curves and elastic modulus), a mold model, and contact conditions. A solver calculates the stress-strain distribution during the bending and unloading processes, determining the shape and dimensions after springback. This is then compared with the designed dimensions to determine the springback value. CAE simulations offer an accuracy of ±0.5°, surpassing theoretical calculations. This method can simulate the effects of various process parameters on springback and facilitate parameter optimization. For example, Dynaform simulated the springback values for a U-shaped bent part on a front longitudinal beam of an automobile at different bend radii: 3.2° for r = 8mm and 4.5° for r = 10mm. Based on this, r = 8mm was selected and a mold offset of 3.5° was set, resulting in a first-pass pass at the mold trial.
The comprehensive determination method combines theoretical calculations, experimental testing, empirical data, and CAE simulations, verifying and complementing each other to obtain the most reliable springback value. It is suitable for high-precision, complex-shaped bent parts. The specific steps are: First, preliminary springback values are obtained using CAE simulation and theoretical calculations. Then, they are verified through trial bending tests, comparing the differences between the test and simulation values and correcting the simulation parameters. Finally, the springback value is adjusted based on empirical data tables and actual production practices. For example, a bent part made of an aluminum alloy (7075-T6) for aerospace applications had a theoretical springback of 6°, a CAE simulation of 5.8°, and a trial bending test of 6.2°. The comprehensive springback value was determined to be 6°. After applying a 6° mold compensation, the angular error of mass-produced parts is controlled within ±0.3°. Although the comprehensive determination method is time-consuming, it ensures the accuracy of the springback value, significantly reducing quality risks, especially for critical parts.
Determining the springback value of bent parts requires selecting an appropriate method based on part precision requirements, production batch size, and technical conditions. For small batches of simple parts, empirical data or theoretical calculations can be used; for large batches of complex parts, a combination of CAE simulation and experimental testing is required; and for high-precision parts, a comprehensive determination method is essential. With the development of intelligent technology, online springback measurement systems are increasingly being implemented. By installing laser scanners on the production line, the springback value of bent parts is measured in real time and fed back to the control system to adjust mold parameters. This allows for dynamic determination and compensation of springback values, significantly improving production efficiency and product quality.
