Control method of the gap between punch and die
The gap between the punch and die (abbreviated as punch-die gap) is a key parameter in the design and manufacture of stamping dies. It refers to the gap between the punch and die cutting edges, which directly affects the quality of the stamped parts, the service life of the die, and the stability of the stamping process. A reasonable gap can ensure that the edges of the stamped parts are smooth, burr-free, and have high dimensional accuracy, while reducing wear on the die cutting edges. If the gap is too large, the burrs on the parts edges will increase and the dimensional accuracy will decrease. If the gap is too small, it will increase the wear on the cutting edges and even cause the die to gnaw. The control method of the punch and die gap must be carried out throughout the entire process of die design, manufacturing, assembly, and debugging. Common control methods include calculation method, table lookup method, process dimension method, matching method, and trial punching adjustment method.
The calculation method determines the gap between the punch and die using a theoretical formula. This method is suitable for regularly shaped stamping parts (such as round and rectangular parts). The appropriate gap value is calculated based on the material type and thickness. For blanking dies, the gap value is typically determined as a certain percentage of the material thickness. For plastic materials like mild steel and brass, the ideal gap is 5%-10% of the material thickness, while for brittle materials like hard steel and stainless steel, the ideal gap is 10%-15% of the material thickness. The specific calculation formula is: Z = 2tδ (Z is the gap between the two sides, t is the material thickness, and δ is the gap coefficient). For example, for blanking a 2mm thick mild steel sheet, assuming δ = 8%, the gap between the two sides, Z, equals 2 × 2 × 8% = 0.32mm. This means the punch size is 0.32mm smaller than the die size. The advantage of the calculation method is that it has a solid theoretical basis and is suitable for preliminary design. However, it requires modification based on actual conditions. Fluctuations in the mechanical properties of the material may cause the calculated value to deviate from the actual requirements.
The table lookup method is a method for selecting the gap between the die and punch based on industry standards or empirical data tables. It is suitable for parts that lack detailed calculation parameters or have complex shapes. Mold design manuals usually provide recommended gap values corresponding to different materials and thicknesses, which are divided into minimum gap, maximum gap, and reasonable gap range. During design, the gap can be selected within a reasonable range based on the part precision requirements. For example, GB/T 16743-1997 “Stamping Die Blanking Clearance” stipulates that for Q235 steel blanking with a thickness of 1mm, the double-sided clearance range is 0.06-0.1mm, with 0.06mm for precision parts and 0.08mm for ordinary parts. The table lookup method is simple and fast and is widely used in conventional stamping die design. However, for parts with special materials or complex shapes, it still needs to be combined with experimental verification.
The process dimension method ensures clearance by controlling the machining dimensions of the punch and die during mold manufacturing. It is suitable for standard molds or simple shapes produced in mass production. Specifically, the dimensional tolerances of the punch and die are determined based on the designed clearance. The punch is manufactured according to the basic shaft system (h6, h7), and the die is manufactured according to the basic hole system (h7, H8). This dimensional tolerance control ensures that the clearance after assembly is within the designed range. For example, if the circular die diameter is designed to be 50mm (H7, i.e., 50 + 0.025mm) and the punch diameter is designed to be 49.68mm (h7, i.e., 49.68 – 0.02mm), the clearance after assembly will be 0.32 ± 0.0225mm, which is within a reasonable range. The process dimension method requires high machining precision of mold components, making it suitable for automated production and ensuring consistent clearance across mass production.
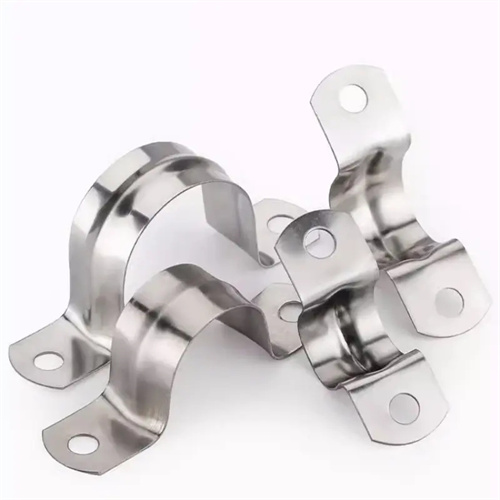
The matching method uses one component (usually the die) as a reference, then creates another component (usually the punch) based on that reference to ensure clearance. This method is suitable for molds with complex, asymmetric shapes, or those requiring high precision. The specific steps are: First, the die is machined to the design dimensions. Once it passes inspection, the punch is then processed using the die as a reference, using methods such as wire EDM, grinding, or manual fitting to ensure a uniform clearance between the two dies. The matching method has the advantage of ensuring uniform clearance in complex molds and is particularly suitable for stamping dies for irregularly shaped and formed parts. However, its disadvantage is the one-to-one correspondence between the punch and the die, resulting in poor interchangeability. For example, in a special-shaped punching die for an automotive panel, the matching method achieves a clearance error of less than 0.01mm between the punch and the die, ensuring a smooth punching edge.
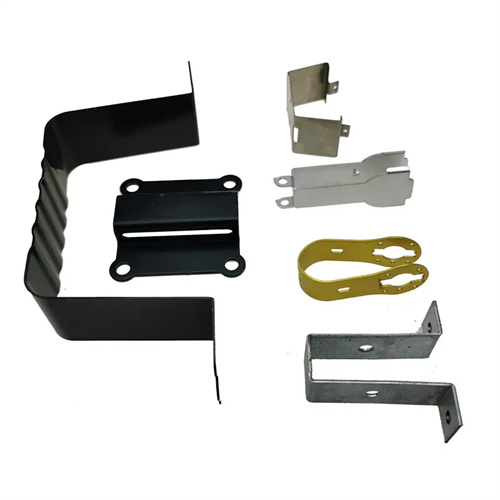
The trial punching adjustment method is a method of adjusting the gap between the punch and the concave molds based on the quality of the sample after the mold assembly is completed. It is a key step to ensure the rationality of the final gap. Observe the edge quality of the stamped part during the trial punching: if there are obvious burrs on the edge of the part and they are unevenly distributed, it means that the gap is uneven; if the burrs are large and torn, it means that the gap is too large; if the bright band on the edge of the part is too wide and the cutting edge is easily worn, it means that the gap is too small. Based on the trial punching results, adjustments can be made by grinding the die cutting edge (increasing the gap), grinding the punch cutting edge (reducing the gap), or adding a gasket between the punch fixing plate and the upper die seat (fine-tuning the gap). For example, a trial punching found that the burr on the right side of a stamped part was large. Through measurement, it was confirmed that the gap on the right side was 0.4mm (design value 0.32mm). After manually grinding the right edge of the die by 0.08mm, the burr was eliminated and the dimensional accuracy met the standard.
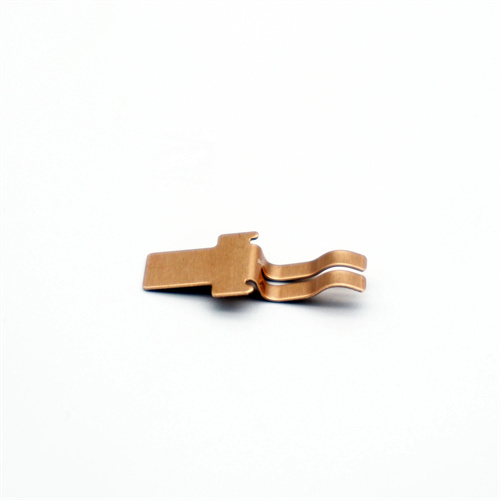
Targeted clearance control for specialized stamping processes (such as fine blanking, thick plate blanking, and non-metallic material blanking) requires specific methods. Fine blanking dies require extremely small clearances (typically 1%-3% of the material thickness), which must be maintained through high-precision grinding and matching techniques, combined with a gear ring pressure plate to achieve burr-free blanking. For thick plate blanking (thickness > 6mm), the clearance must be increased appropriately (15%-20% of the material thickness), with a beveled cutting edge used to reduce blanking forces. Clearance control must be achieved through taper compensation in CNC wire cutting. For non-metallic materials (such as cardboard and plastic sheets), the clearance must be 20%-30% greater than for metal materials to prevent material sticking. Furthermore, regular inspection of clearance changes during die use is essential, and edge repairs must be performed to maintain a reasonable clearance and extend die life.

Controlling the gap between the punch and die is a systematic process, requiring a comprehensive approach based on die type, material properties, part requirements, and production batch size. Calculations or table lookup are used to initially determine the gap during the design phase. Process dimensional methods or matching methods are used to ensure machining accuracy during the manufacturing phase. Finally, test punching and adjustment methods are used during the assembly and commissioning phase to determine the optimal gap. Only through strict control throughout the entire process can we ensure stable stamping part quality, reliable die performance, and efficient, low-cost stamping production.
