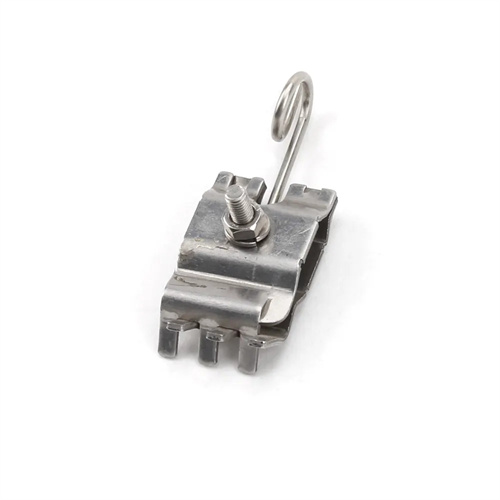
Bending stress and strain state of bending die
During the bending process, the stress and strain state within the material is complex and changes dynamically throughout the bending phase. Understanding the distribution and changing characteristics of stress and strain is key to optimizing die design and controlling the quality of bent parts. Bending stress primarily includes radial stress, tangential stress, and axial stress, while strain manifests as tangential strain, radial strain, and thickness strain. The interaction of these stresses and strains determines the material’s plastic deformation behavior and final shape.
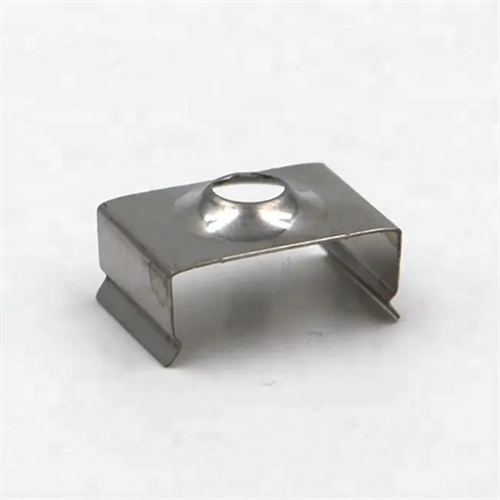
During the elastic bending stage, the stress distribution within the material changes linearly: the outer fibers are subject to tangential tensile stress, the inner fibers to tangential compressive stress, and the neutral layer, located in the middle of the material thickness, has zero stress. Radial stress is caused by the external bending force, with the outer layer subject to radial compressive stress and the inner layer to radial tensile stress, but the value is relatively small. At this point, strain is proportional to stress and follows Hooke’s law: the tangential strain is positive (elongation) in the outer layer and negative (shortening) in the inner layer. Radial strain and thickness strain are negligible. For example, during the elastic bending stage of a low-carbon steel plate, the maximum tangential tensile stress does not exceed the yield strength (σs = 235 MPa). After the external force is removed, the stress and strain are fully recovered, with no permanent deformation.
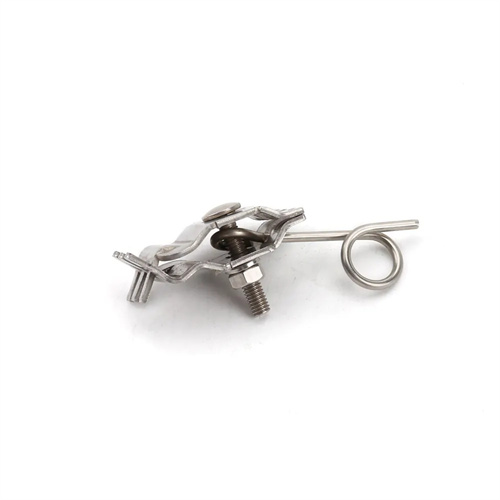
During the elastic-plastic bending stage, the outer fibers of the material first reach yield strength and enter a state of plastic deformation, while the inner layers remain in an elastic state, and the stress distribution is no longer linear. The tangential tensile stress in the outer plastic zone remains constant at yield strength, while the tangential compressive stress in the inner elastic zone maintains a linear distribution, with the neutral layer shifting inward. At this point, the tangential strain in the outer layer continues to increase (plastic elongation), while the inner layer elastically shortens. Radial strain manifests as inward flow of the outer material, and the thickness strain in the outer layer slightly decreases (thinning) while the inner layer slightly increases (thickening). For example, when mild steel V-bending enters the elastic-plastic stage, the tangential strain in the outer fibers reaches 5% (exceeding the elastic limit strain of 2%), and permanent deformation begins to occur. The neutral layer shifts by approximately 5%-10% of the material thickness.
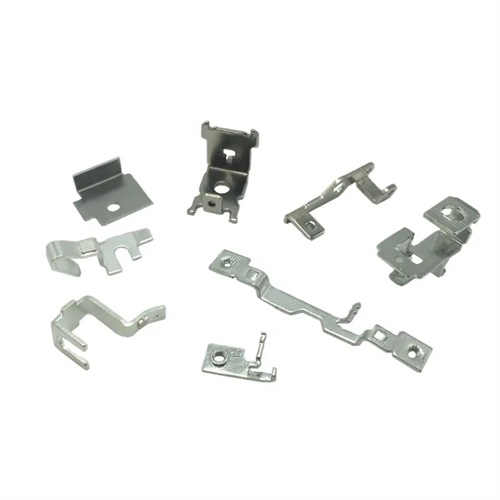
During the plastic bending stage, the material undergoes plastic deformation throughout its thickness, resulting in a complex tangential stress distribution. The outer layer experiences tensile stress, the inner layer experiences compressive stress, and a stress transition zone exists in between (where stress is zero). The neutral layer deflection reaches its maximum value, typically 10%-20% of the material thickness (the smaller the bend radius, the greater the deflection). Tangential strain reaches its maximum (elongation) in the outer layer and its minimum (contraction) in the inner layer, resulting in a nonlinear strain distribution. Radial and thickness strains are more pronounced, with the outer layer thinning due to tension and the inner layer thickening due to compression. The total thickness change is approximately 1%-5%. For example, during the plastic bending stage of a 3mm thick brass sheet, the outer layer thickness decreases to 2.9mm, while the inner layer increases to 3.1mm, resulting in a neutral layer deflection of 0.3mm (10% of the thickness).
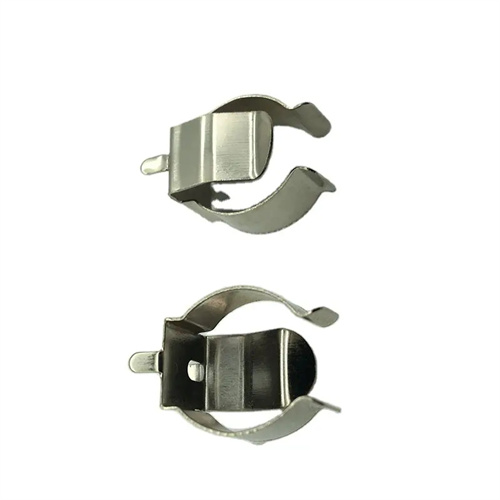
Stress concentration during bending primarily occurs at the bend radius, especially when the bend radius is small (r/t < 1). Tangential tensile stress on the outer edge of the fillet increases significantly, potentially leading to material cracking. The stress concentration factor increases with decreasing relative bend radius, reaching 1.5-2.0 at r/t = 0.5. To reduce stress concentration, the punch radius (usually equal to the inner radius of the bend) should be appropriately designed, and the material should be softened (such as annealing) to improve its plasticity. For example, annealing a high-strength steel bend (r/t = 0.3) to reduce its yield strength reduces the stress concentration factor from 1.8 to 1.5, thus preventing cracking.
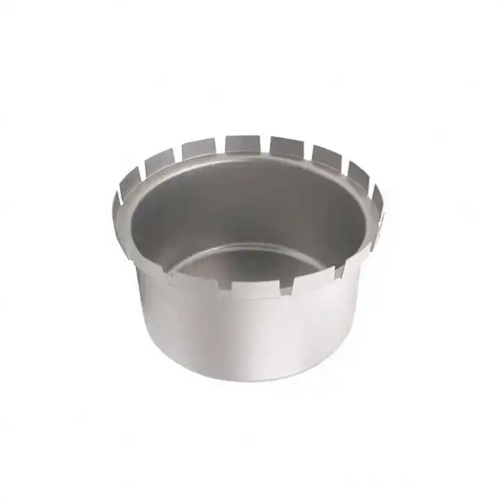
The stress state after bending manifests as residual stress, which is the primary cause of springback. Plastic elongation of the outer fibers generates residual compressive stress, while plastic shortening of the inner fibers generates residual tensile stress. The balance of these residual stresses leads to elastic recovery (springback) after the external force is removed. The magnitude of residual stress depends on the bending method, material properties, and mold parameters. Corrected bending produces less residual stress than free bending, and thus less springback. For example, after free bending, the residual stress of a low-carbon steel U-shaped part reaches 100 MPa (compressive stress) in the outer layer and 80 MPa (tensile stress) in the inner layer, with a springback angle of 3°. After corrected bending, the residual stress drops to 50 MPa in the outer layer and 40 MPa in the inner layer, with a springback angle of only 1°. Proper mold design (such as setting a compensation angle) and process parameters (such as increasing the corrective force) can reduce residual stress, control springback, and improve the precision of the bent part.
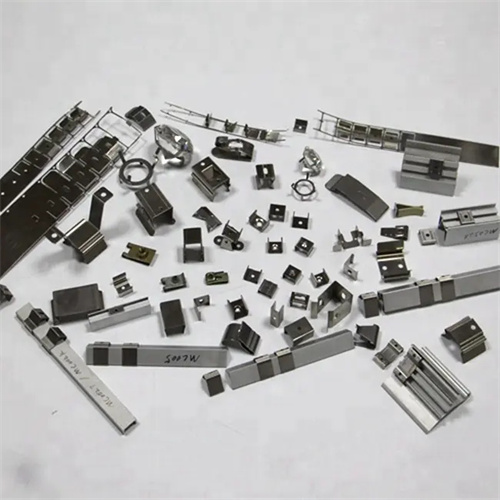
The bending stress and strain state of a bending die can be studied through experimental measurements and numerical simulations. In experiments, strain gauges are used to measure surface strain, combined with theoretical calculations to deduce the internal stress distribution. Numerical simulations (such as finite element analysis software such as ABAQUS and Dynaform) can visually demonstrate the dynamic evolution of stress and strain, providing a basis for die design and process optimization. For example, Dynaform simulations of a U-shaped bending process revealed a maximum tangential stress of 350 MPa at the fillet, which agrees well with the experimentally measured value of 345 MPa. This verifies the accuracy of the simulation and provides data support for optimizing the fillet radius. Understanding and controlling the bending stress and strain state is crucial for improving the quality of bent parts and extending die life.
