Gathering the Necessary Tools and Metal Cable Clamps
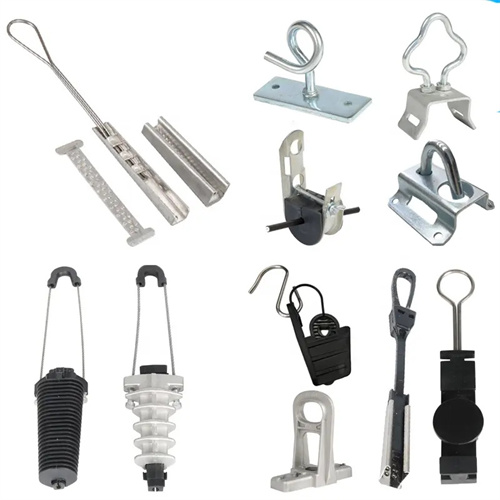
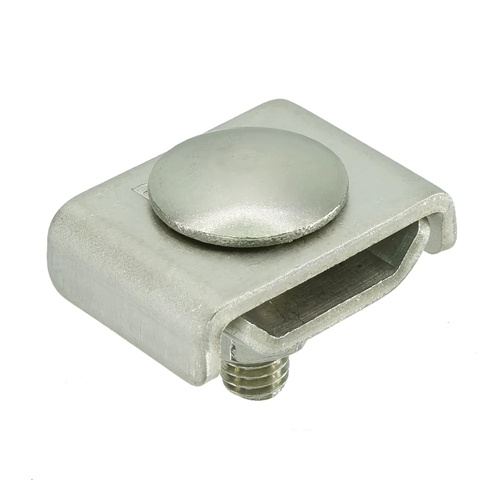
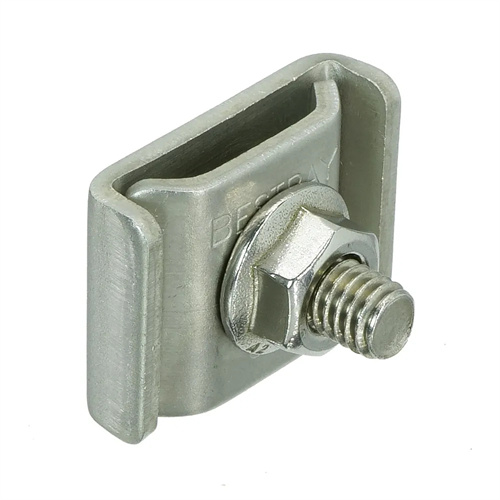
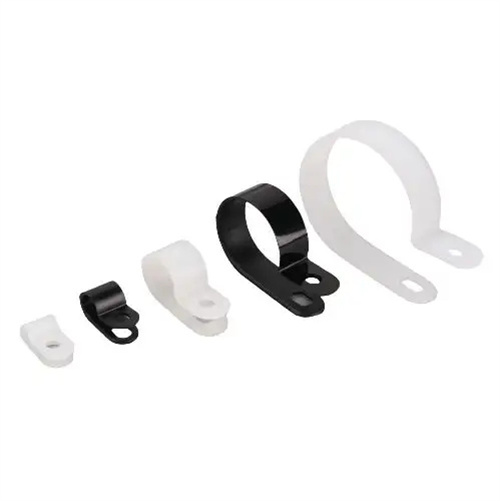
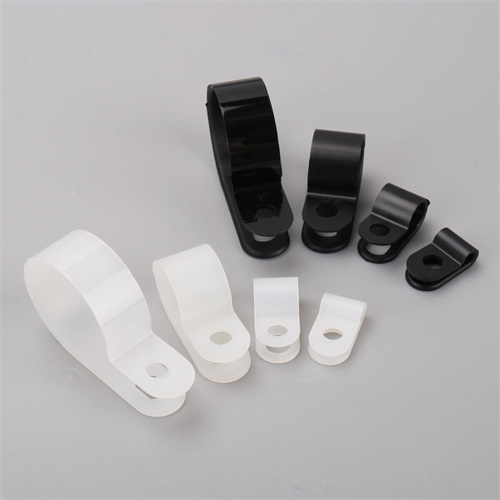
Before embarking on the installation of metal cable clamps, it’s crucial to gather all the necessary tools and materials. First and foremost, we need to select the right type and size of metal cable clamps. Consider the diameter of the cables you’ll be managing; cable clamps come in various sizes to accommodate different cable thicknesses. Stainless steel cable clamps are a popular choice due to their durability and resistance to corrosion, making them suitable for both indoor and outdoor use.
In addition to the cable clamps, we’ll need a measuring tape to accurately mark the positions for installation. A drill and appropriate drill bits are essential if we’re mounting the clamps on walls, desks, or other solid surfaces. For tightening the clamps, a screwdriver or a socket wrench, depending on the type of fasteners used, will be required. Don’t forget safety gear such as gloves and safety glasses, especially when working with sharp tools or metal components. Having everything ready in advance ensures a smooth and efficient installation process.
Planning the Layout for Metal Cable Clamps
Proper planning of the layout for metal cable clamps is key to achieving effective and aesthetically pleasing cable management. Start by identifying the areas where cables tend to accumulate, such as behind desks, entertainment centers, or server racks. Assess the direction in which the cables need to run to reach their respective destinations, like power outlets, devices, or network ports.
We can use a pencil and the measuring tape to mark the positions where the cable clamps will be installed. Aim to create a neat and organized pattern, keeping the cables as straight and parallel as possible. For example, on a wall, we might space the clamps evenly along a horizontal or vertical line. In the case of a desk, consider routing the cables underneath and using clamps to hold them in place at regular intervals. Taking the time to plan the layout carefully helps prevent cable tangling and makes future cable additions or changes much easier.
Installing Metal Cable Clamps on Surfaces
Once the layout is planned, it’s time to start installing the metal cable clamps on the chosen surfaces. If we’re working with a wooden or drywall surface, we’ll first need to drill pilot holes at the marked positions. The size of the pilot hole should match the diameter of the screw or fastener that comes with the cable clamp. Insert the screw through the hole in the cable clamp and into the pilot hole, then use the screwdriver or socket wrench to tighten it securely.
For metal or concrete surfaces, we may need to use specialized fasteners such as toggle bolts or self – tapping screws. Make sure the cable clamp is firmly attached to the surface, as loose clamps won’t effectively hold the cables in place. Take care not to overtighten the screws, as this could damage the surface or strip the screw holes. By installing the cable clamps properly, we lay a solid foundation for efficient cable management.
Securing Cables with Metal Cable Clamps
With the metal cable clamps installed, it’s now time to secure the cables. Gather the cables that need to be managed and gently guide them into the open part of the cable clamps. Make sure the cables are neatly arranged and not twisted or kinked. Some cable clamps have adjustable jaws or straps that can be tightened around the cables to hold them firmly in place.
If using clamps with screws, tighten the screws gradually, ensuring that the cables are held securely but not compressed too tightly, which could damage the insulation or disrupt the signal transmission. For clamps with straps, pull the strap tight to snugly fit the cables within the clamp. Check each clamp to ensure that all the cables are properly secured and that there is no slack or movement that could lead to tangling. Properly securing the cables with metal cable clamps keeps them organized and protected.
Organizing and Bundling Cables with Metal Cable Clamps
To achieve an even neater look and more efficient cable management, we can organize and bundle the cables using metal cable clamps. Group together cables of similar types, such as power cables, data cables, and audio – visual cables. Use additional cable clamps to hold these bundles in place at regular intervals along their length.
We can also use cable ties or velcro straps in combination with the cable clamps to further secure and organize the bundles. This not only makes the cables look tidier but also makes it easier to identify and troubleshoot any issues that may arise. For example, if a network connection fails, having the data cables neatly bundled and labeled makes it simpler to locate and check the relevant cables. Organizing and bundling cables with metal cable clamps is an effective way to enhance the overall cable management system.
Checking and Maintaining Metal Cable Clamps
After installing and organizing the cables with metal cable clamps, it’s important to perform regular checks and maintenance. Periodically inspect the clamps to ensure that they are still securely attached to the surfaces and that the cables are properly held in place. Look for any signs of wear, corrosion, or damage to the clamps or the cables.
If any issues are detected, such as a loose clamp or frayed cable insulation, address them promptly. Tighten loose screws, replace damaged clamps, or repair or replace the affected cables. Additionally, as new devices are added or cables are removed or replaced, update the cable management system accordingly, adjusting the positions of the cable clamps as needed. By maintaining the metal cable clamps and the cable management system, we can ensure its long – term effectiveness and keep our spaces free from cable clutter.